
Workshop
The combination square: ten jobs beyond checking square
Marking gauge, depth gauge, setting blade and bit height, checking a carcass and transferring sizes, all with one tool.
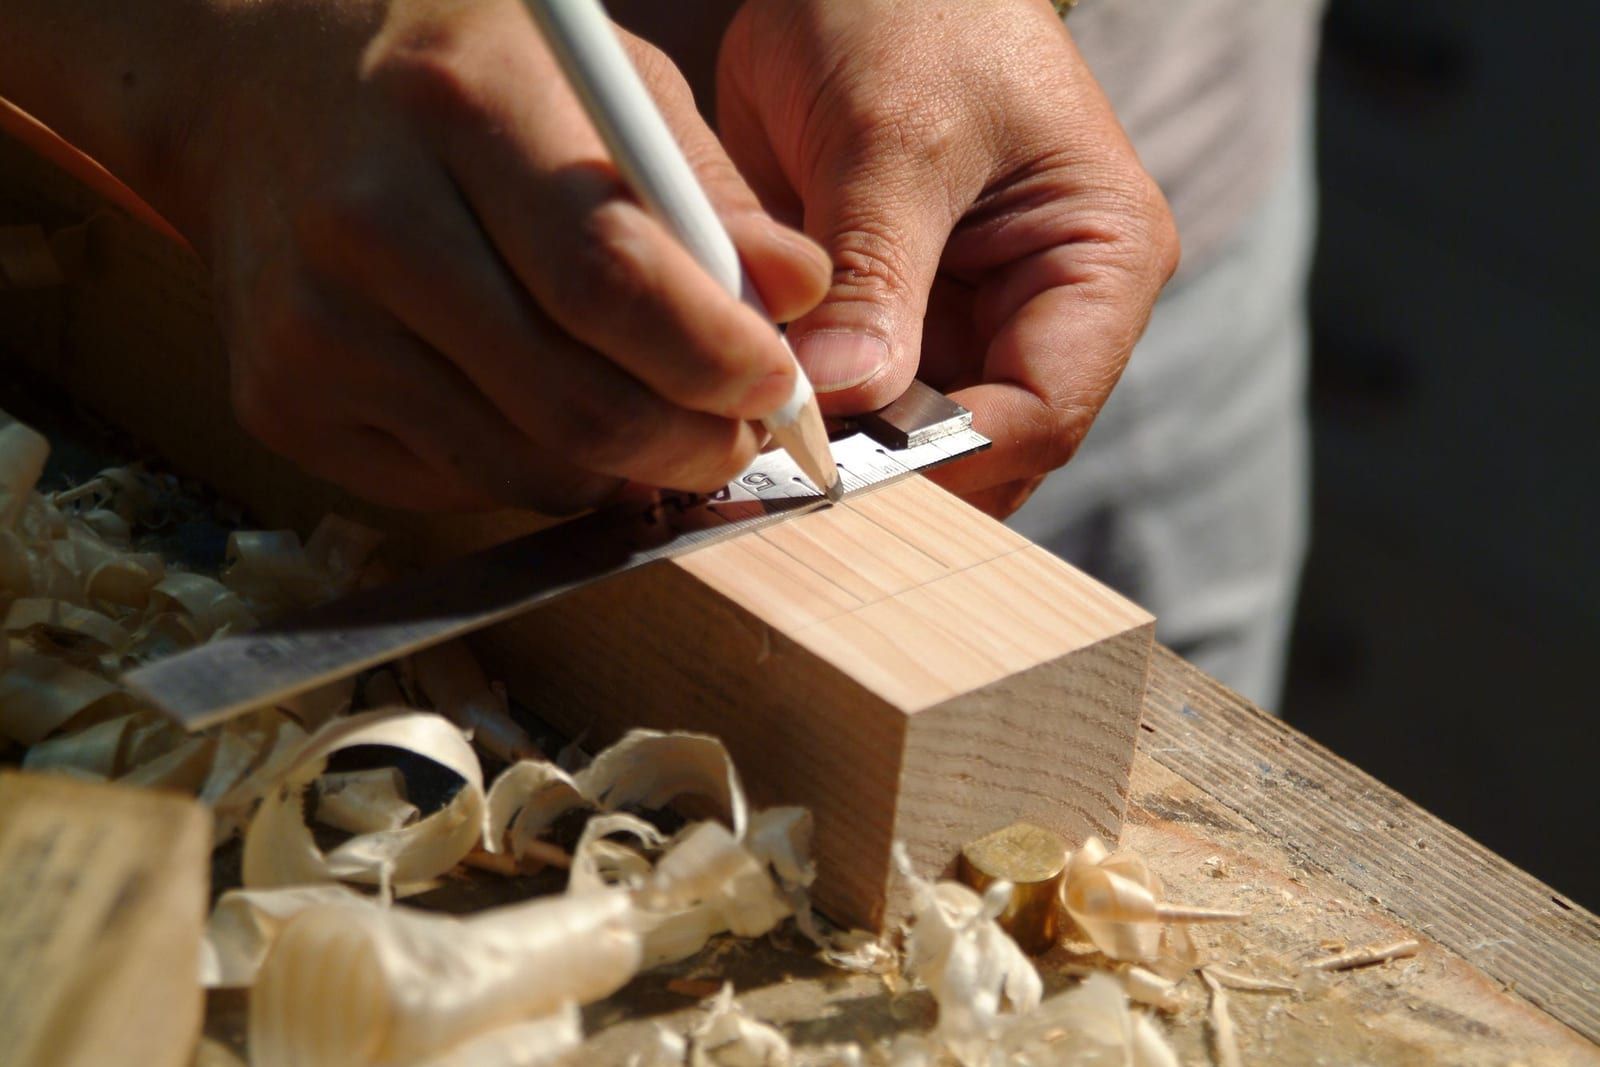
A combination square is a steel rule with a head that slides along it, with two reference faces: one at 90° and one at 45°. In plenty of workshops it lives on the bench and only ever checks whether something is square. That's a waste, because once the thumbscrew is locked it takes on ten jobs beyond checking square.
Before anything else: check the square itself
A square that lies spoils everything you mark with it. Checking takes a minute. Hold the head against a straight edge and draw a fine line along the rule. Flip the square over, set it at the same spot and draw a second line right next to the first. If the lines run parallel, the square is good. If they spread apart, the error is half of what you see, because flipping doubles it. You need a truly straight edge for this and a hard, sharp pencil.

Marking gauge
Set the rule to stick out of the head by the distance you need and lock the screw. Press the head against the edge, put a pencil or a knife against the end of the rule and slide the whole thing along the board. You get a line parallel to the edge. That's how you mark a groove, a rebate or a glue line for edging. Clamp the board down first, or you'll drag it along with the square.

Depth gauge
Rest the head on the edge and push the rule into the groove or mortise until it bottoms out. Lock the screw and read it or, better, take the set square straight to the next part. Same depth, no number. Lock the screw before you pull the rule out, or it'll slide on the way.

Blade and bit height
Set the rule to the height you want the blade or bit at, and stand the square on the saw table with the end of the rule on the table and the head over the blade. Raise the blade until the top tooth touches the head. The rule has to stay on the table the whole time, because lifting it changes the height.

Blade parallel to the slot
Lay the square flat on the saw table and press the face of its head against one wall of the mitre slot. Slide the rule out until its end touches one tooth at the front of the blade. Mark that tooth with chalk, turn the blade by hand until the same tooth is at the back, and slide the square there, its head still against the same wall. If the tooth touches the rule the same way, the blade is parallel. It has to be the same tooth, because teeth differ in set.

To check the blade is square to the table, lay the rule flat against the blade between the teeth. There should be no light under it.
A carcass, inside and out
Slide the rule almost all the way into the head and you've got a small square that fits into a cabinet corner from the inside. On the outside, run the rule out to its full length. On a large carcass, still check the diagonals at the end, because a square only sees one corner.
45°
The other face of the head is at 45°. Use it to mark a mitre or check one. On a frame, check both halves of a corner separately: a 44° and a 46° cut also add up to 90°, but their faces differ in length. On a 50 mm moulding one piece sticks out about 2 mm at the corner, and a profile won't line up.
The same size on many parts
A set and locked square is a template. Hinge setback from the door edge, the height of the first hole, a handle position: set it once and mark every part with the same setting. You don't read a number, so there's nothing to get wrong on the tenth cabinet.
Extra heads
Some sets come with two more heads. The centre head has a V-shaped notch: hold it against a round, draw a line along the rule, turn the round 90° and draw another. The centre is where they cross. The protractor head sets any angle, say 22.5° for an octagonal frame.

The flip test first, then all the rest. A square you trust replaces half a drawer of gauges.
Sources
- A. Guidice, How to Use a Combination Square (opens in a new tab), Fine Woodworking, 1999
- P. C. Lowe, Are You Getting the Most from Your Combo Square? (opens in a new tab), Fine Woodworking, 2008
- B. Rainford, The Importance of a Combination Square (opens in a new tab), Woodcraft, 2016
- H. Lineback, the flip test, in 10 Marking and Measuring Tips (opens in a new tab), Popular Woodworking, 2020