
Workshop
Cabinets without sums: holes, doors, drawers, shelves
One template for both sides, doors hung on packers, drawers checked with a stick, stiffer shelves and dovetails by eye.
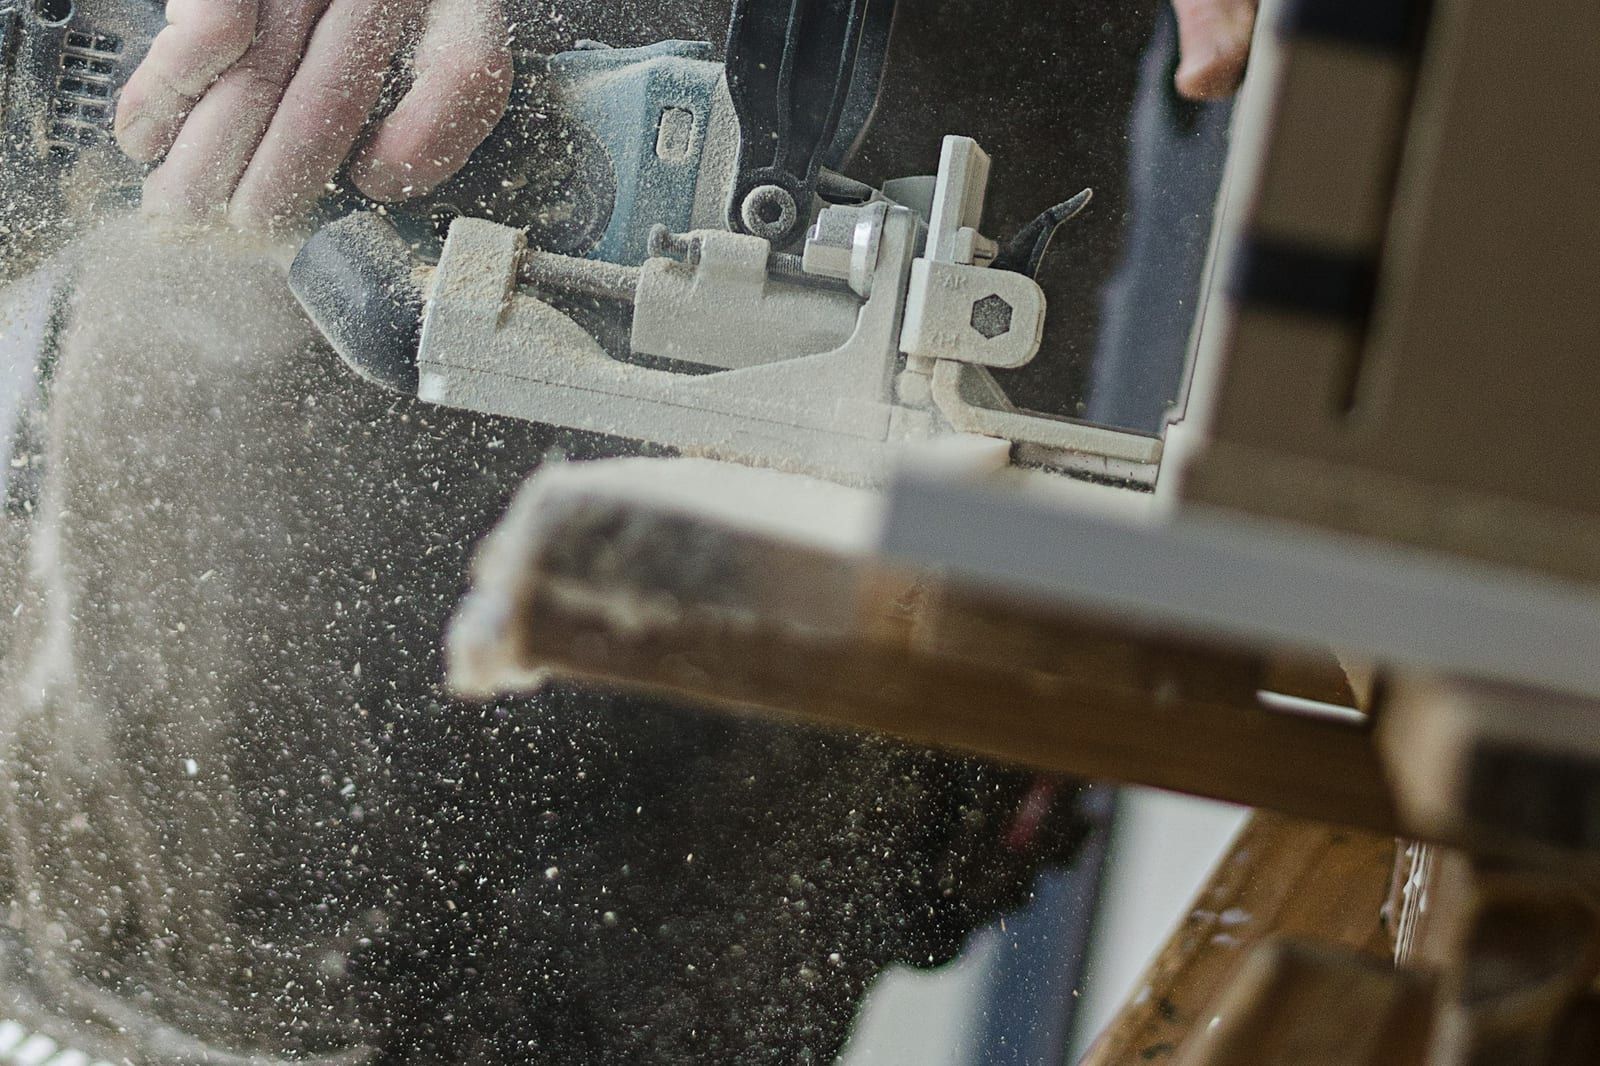
A sheet-material cabinet is mostly subtraction: gaps, runner clearances, board thicknesses. It all adds up on paper, and then at assembly one door rubs the next because somebody took the gap off once instead of twice. Most of those sums can be replaced by a jig or a packer. The formulas are in boxes, for when you want to work everything out before ordering parts. Clearances and setbacks depend on the hardware, so always check the data sheet for your hinge and your runners.
Holes: one template for both sides
The holes in a cabinet side for shelf pins and hardware sit in rows, 37 mm from the front edge, 32 mm apart. Most furniture hardware is built around this grid, the 32 mm system, so one row of holes serves shelves, drawers and doors.
The worst that can happen is a shelf that rocks because the holes on the left are a millimetre lower than on the right. So drill both sides from one template. For shelf-pin holes, a strip of pegboard cut to the length of the side does the job: tape over the holes you don't need, clamp it on, drill, move it to the other side. Ordinary pegboard has holes 25 mm or an inch apart, though, so rows on the 32 mm grid for hardware need a template drilled at 32 mm. There's one trap. Register the template from the same end on both sides, top or bottom, or the rows come out mirrored.

The maths
n = (b − a) / 32 + 1
a and b are the positions of the first and last hole. From 96 to 608 mm: 17 holes. If b − a doesn't divide by 32, one of the positions is wrong.
A hinge cup is 35 mm across and just under 13 mm deep (Hettich gives 12.8 mm). On an 18 mm door that leaves about 5 mm behind it, so on thinner doors check first that the hinge fits at all.
Hang doors on packers
Instead of calculating the gaps, put them in. Cut a few strips of thin board, or find packers as thick as the gap, lay them on the door below or against the side, and rest the door on them while you fit the hinges. The gaps come out even, because they're the same packers. You still finish with the hinge adjustment, but you start from the right place.
On a pair of doors, remember there are three gaps, not two: at each side and between the leaves. In a run of kitchen units the gap between neighbouring doors is split in half, so the door on a 600 mm unit is 597 mm, not 594.
The maths
insetw = O − 2g
inset pairw = (O − 3g) / 2
overlayw = W − 2r
overlay pairw = (W − 2r − g) / 2
O is the opening, W the carcass width, g the gap, r the reveal. A 600 mm opening with a 2 mm gap: 596 or 2 × 297 mm. An 800 mm carcass, r = 1.5 and g = 3: 2 × 397 mm.

Drawers: a stick instead of sums
Side-mounted runners need clearance on both sides of the box, usually about 12.5 to 13 mm a side. Before you glue the box, cut a stick to the width of the opening less both clearances and hold the dry-assembled box against it. If the widths match, the drawer will go in. Undermount runners have their own sizes, given on the maker's sheet.
Drawers of different heights look right in simple ratios. Don't work them out. For 3 : 5 : 8, take a strip of paper the height of the opening less the gaps and fold it in half four times. Unfolded, it has sixteen equal parts: count off three, five and eight.

For 2 : 3 : 4 you need ninths, and those don't fold as easily. Use the slanted tape from the previous post instead. Lay it across the board the fronts will be cut from, cut to the height of the opening less the gaps, with zero on one end and 810 on the other. Mark 180 and 450. The board has to be at least 430 mm wide for the tape to reach.

The maths
boxs = O − 2c
front and backf = s − 2b
for the frontsA = H − (n + 1) · g
O is the clear opening, c the runner clearance, b the box side thickness. A 600 mm carcass with 18 mm sides has a 564 mm opening. With 12.7 mm clearance the box is 538.6 mm wide, and a front and back set between 15 mm sides are 508.6 mm. 2 : 3 : 4 fronts in a 700 mm opening with 3 mm gaps: 152.9, 229.3 and 305.8 mm. 3 : 5 : 8 fronts: 129, 215 and 344 mm.
A support saves a shelf, thicker board doesn't
A long shelf of books sags, and the first instinct is thicker board. That's usually the wrong answer. Sag grows very fast with the span and falls more slowly with the thickness. Shortening a shelf by a quarter cuts the sag roughly threefold, and going from 18 to 25 mm board does about the same for a lot more money. A divider or an extra support in the middle does the most. A solid wood strip glued on edge along the front helps too, because a deep section is very stiff.

Chipboard under a constant load keeps sagging over time. Leave a margin on long shelves. For your own shelf, with its board, load and span, the Sagulator (opens in a new tab) at Woodbin works the sag out in millimetres, and it can add a solid edging strip too.
The maths
f ∼ L⁴ / t³
Sag f under a load spread along the length, L is the span, t the thickness. From 800 to 600 mm: 0.32 of the sag. From 18 to 25 mm: 0.37. From 800 to 1000 mm: nearly 2.5 times as much.
Dovetails without a protractor
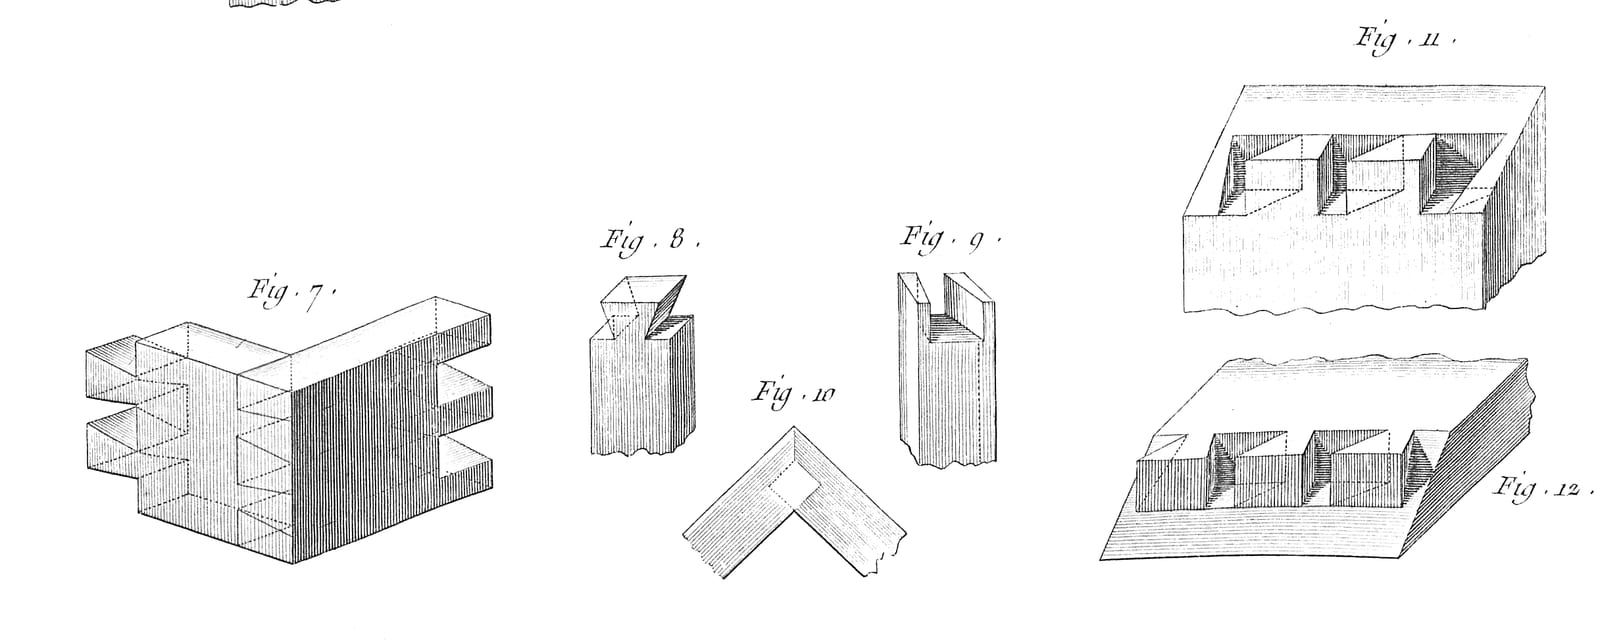
A dovetail slope is a ratio, 1 : 6 or 1 : 8. You don't need a protractor. On the edge of a board measure 60 mm along and 10 mm across, join the points and set a sliding bevel to the line. You'll often hear that 1 : 6 is for softwood and 1 : 8 for hardwood. It's a convention; old manuals gave a range of angles. What matters more is keeping one slope across the whole piece.

The maths
1 : 6α = arctan(1/6) ≈ 9.5°
1 : 8α = arctan(1/8) ≈ 7.1°
Space the tails evenly with a slanted tape: take the two half pins at the edges off the width and divide the rest the same way you'd split a board into strips.
One template for both sides, packers instead of a tape on the doors, and a stick against the drawer before the glue. Sums are only worth doing when you order the parts.
Sources
- Hettich, 37 mm hole lines (opens in a new tab) and hinge catalogue (opens in a new tab)
- H. Rudau, Perfect Shelf Pin Spacing, in 10 Marking and Measuring Tips (opens in a new tab), Popular Woodworking, 2020
- A. J. Roubo, L'Art du menuisier, plate 9 on Wikimedia Commons (opens in a new tab)