
Workshop
Marking and transferring sizes: triangle, story stick, knife
A triangle across the parts, a stick instead of a tape, a finger gauge, a knife line and sticks that show twist.
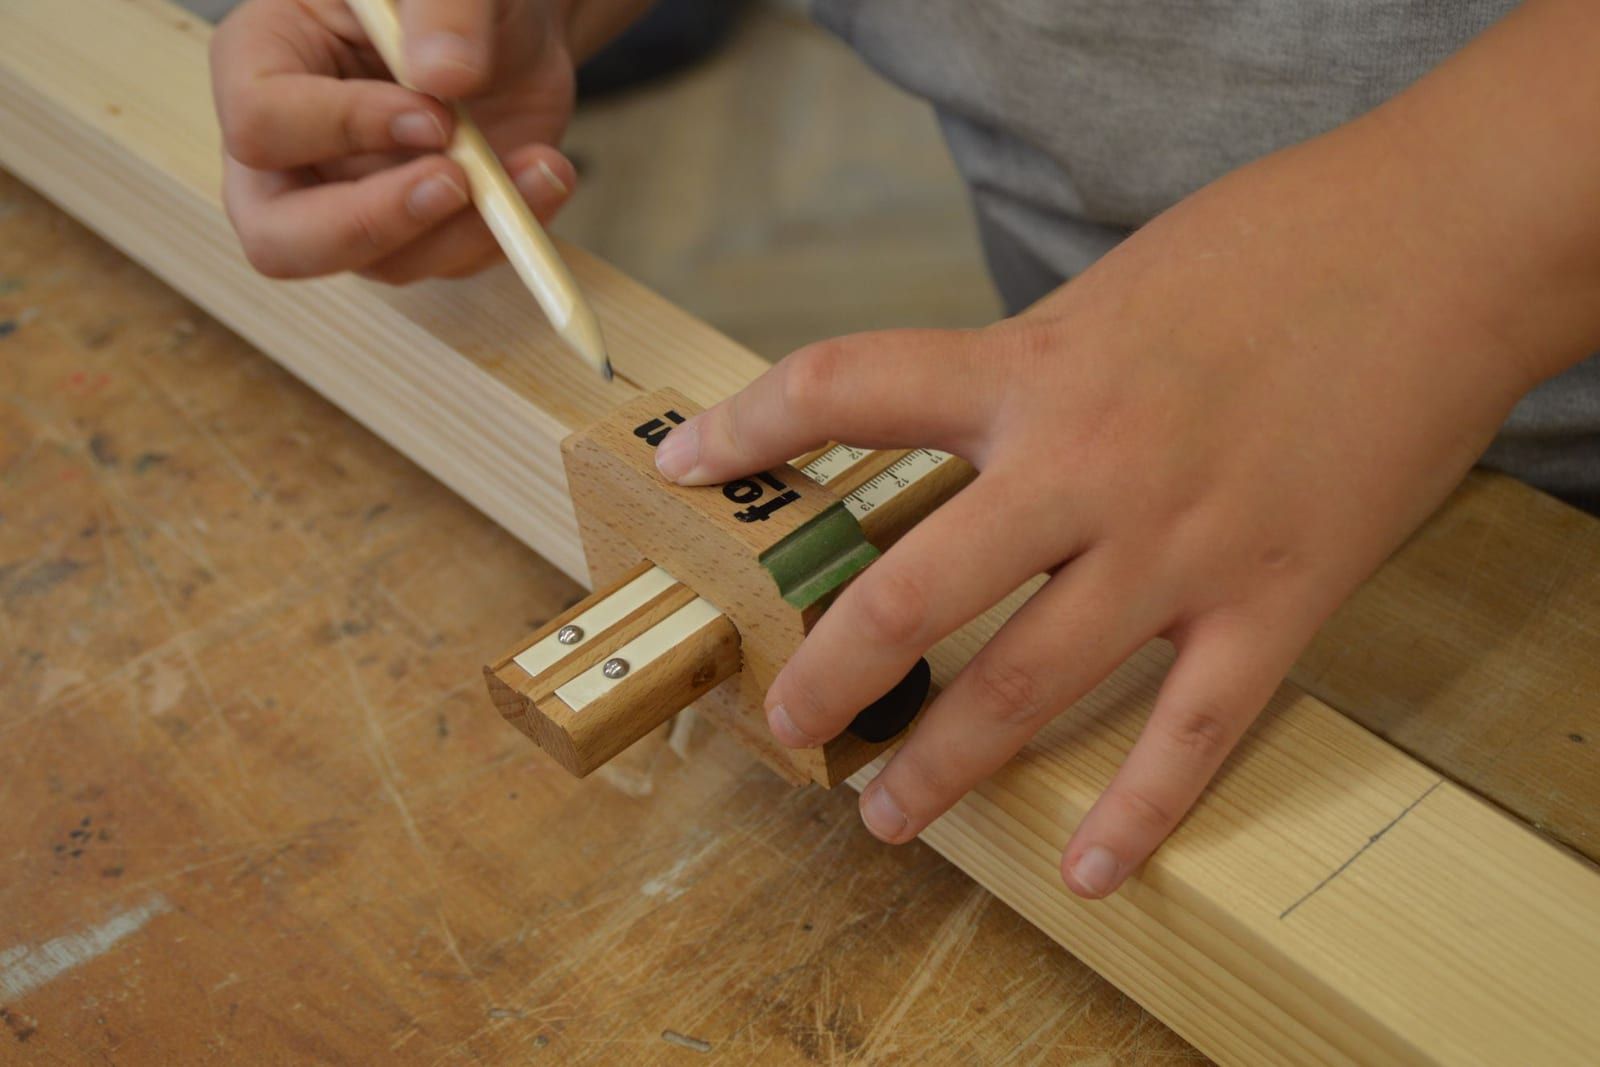
The most expensive mistakes in a workshop don't come from the cut. They come from mixing up parts. A side turned inside out, a shelf cut to the other cabinet's size, holes drilled from the wrong edge. There are old, simple habits for marking parts and transferring sizes, and none of them involves a sum.
The cabinetmaker's triangle
Before you separate the parts, lay them out the way they'll sit in the piece and draw one big pencil triangle across all of them at once. Front and back of a drawer together, the two sides together, each pair with its own triangle pointing to the front or the top. At assembly every bit of the triangle has to join up again. You see at a glance which part is which, which face goes inside and which end is the top.
Always draw it before you cut to size and before you plane, and only in pencil that sands off. Draw it in timber crayon or marker once and you'll spend a long time sanding it off.

A story stick instead of a tape
On kitchen units, where the same heights repeat in every carcass, put the tape away. Take a straight stick, light-coloured wood is best, and mark everything that matters on it once: plinth, bottom, shelves, drawers, worktop. Then hold it against each side and transfer the marks. You copy a distance instead of reading it, so reading errors have nowhere to start. Write on the stick which end is the bottom, because turned over it gives you a mirror image.

A finger as a gauge
A line parallel to an edge, for a rough cut say, needs no tool at all. Hold the pencil as usual and rest your index finger against the edge of the board. Slide your hand along: the finger is the fence. Keep the pencil upright and the finger on the edge. It's a rough line; for a finished cut use a gauge.
Set the gauge from the work
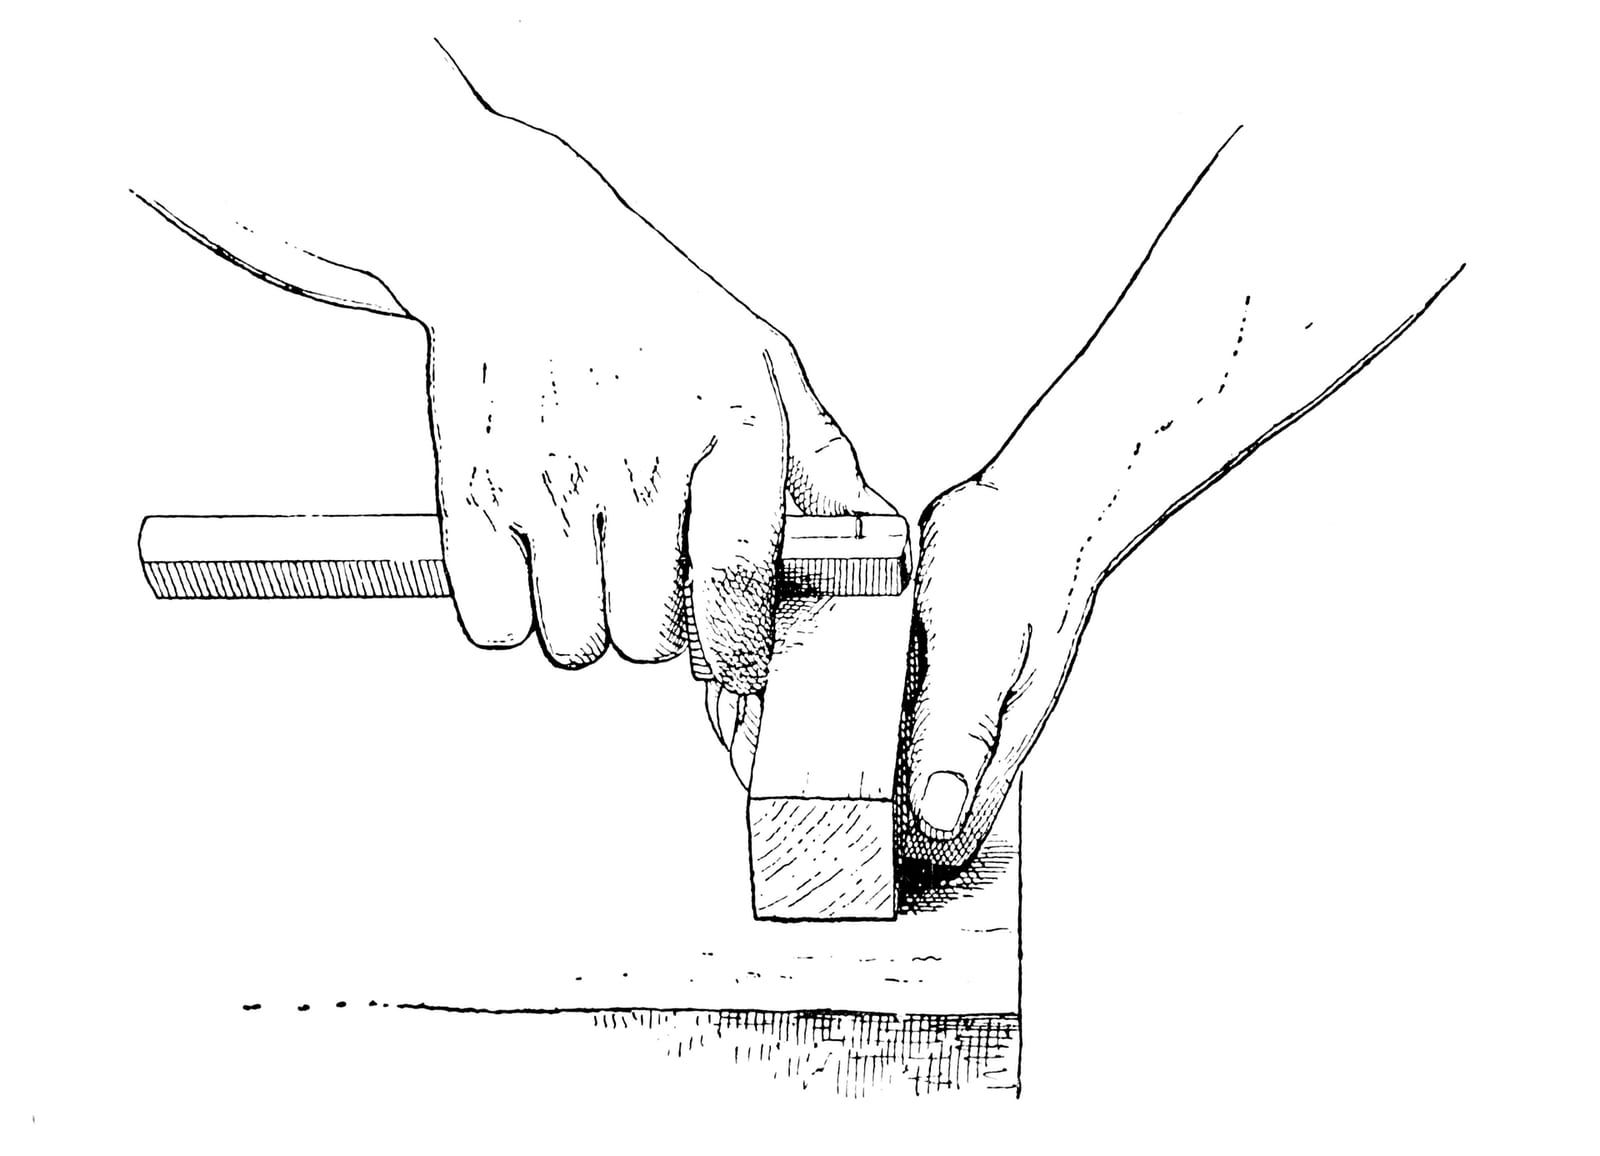
The mortise has to match the thickness of the board that goes into it? Don't measure the board with a tape. Hold the gauge against the board itself, set it to its thickness and mark the mortise with that setting. That's the advice in a cabinet-making manual from 1891, and it's still the surest way. A number off a tape can be misread, but the board always has its true thickness.
A knife instead of a pencil
A pencil line has width of its own, and on a careful cut every tenth of a millimetre counts. A marking knife leaves a nick with no width. It also severs the surface fibres, so the edge tears less when you cut, and a chisel or saw drops into the groove by itself. Start a hand saw cut with a few strokes towards you, no pressure, the blade against your thumbnail. That's how a Boston manual for trade schools put it in 1881: the shallow groove guides the saw from there.
Sticks that show a twisted board
A board can be straight along its length and still twisted like a propeller. You can't see it by eye until you try to glue it up. Lay two straight sticks across the board, one at each end, crouch down and sight along the board until the top edges of the sticks line up. If the far stick tilts against the near one, the board is twisted. The sticks blow that small angle up into something you see at once. It works better when the sticks are long and of two contrasting woods, and when they're straight themselves.

A triangle on the parts, a stick for the sizes, a knife for the line. Three habits that save more board than any saw.
Sources
- C. Gochnour, Marking System Keeps Track of Parts (opens in a new tab), Fine Woodworking, 2007
- M. Rodriguez, Story Sticks Leave Little Room for Error (opens in a new tab), Fine Woodworking, 2001
- D. Lyell, the finger gauge, in 10 Marking and Measuring Tips (opens in a new tab), Popular Woodworking, 2020
- The Art and Craft of Cabinet-making (opens in a new tab), 1891: setting the gauge to the mating part
- Industrial School Association, Wood-working Tools; How to Use Them (opens in a new tab), Boston 1881
- D. Peterman, Use Winding Sticks to Ensure Flat Stock (opens in a new tab), Fine Woodworking, 2005