
Cutting and layout
Sheet and kerf: cutting so everything fits
Where the kerf goes, how to see whether parts will fit, cut order, tape against tearout and the five-cut test.
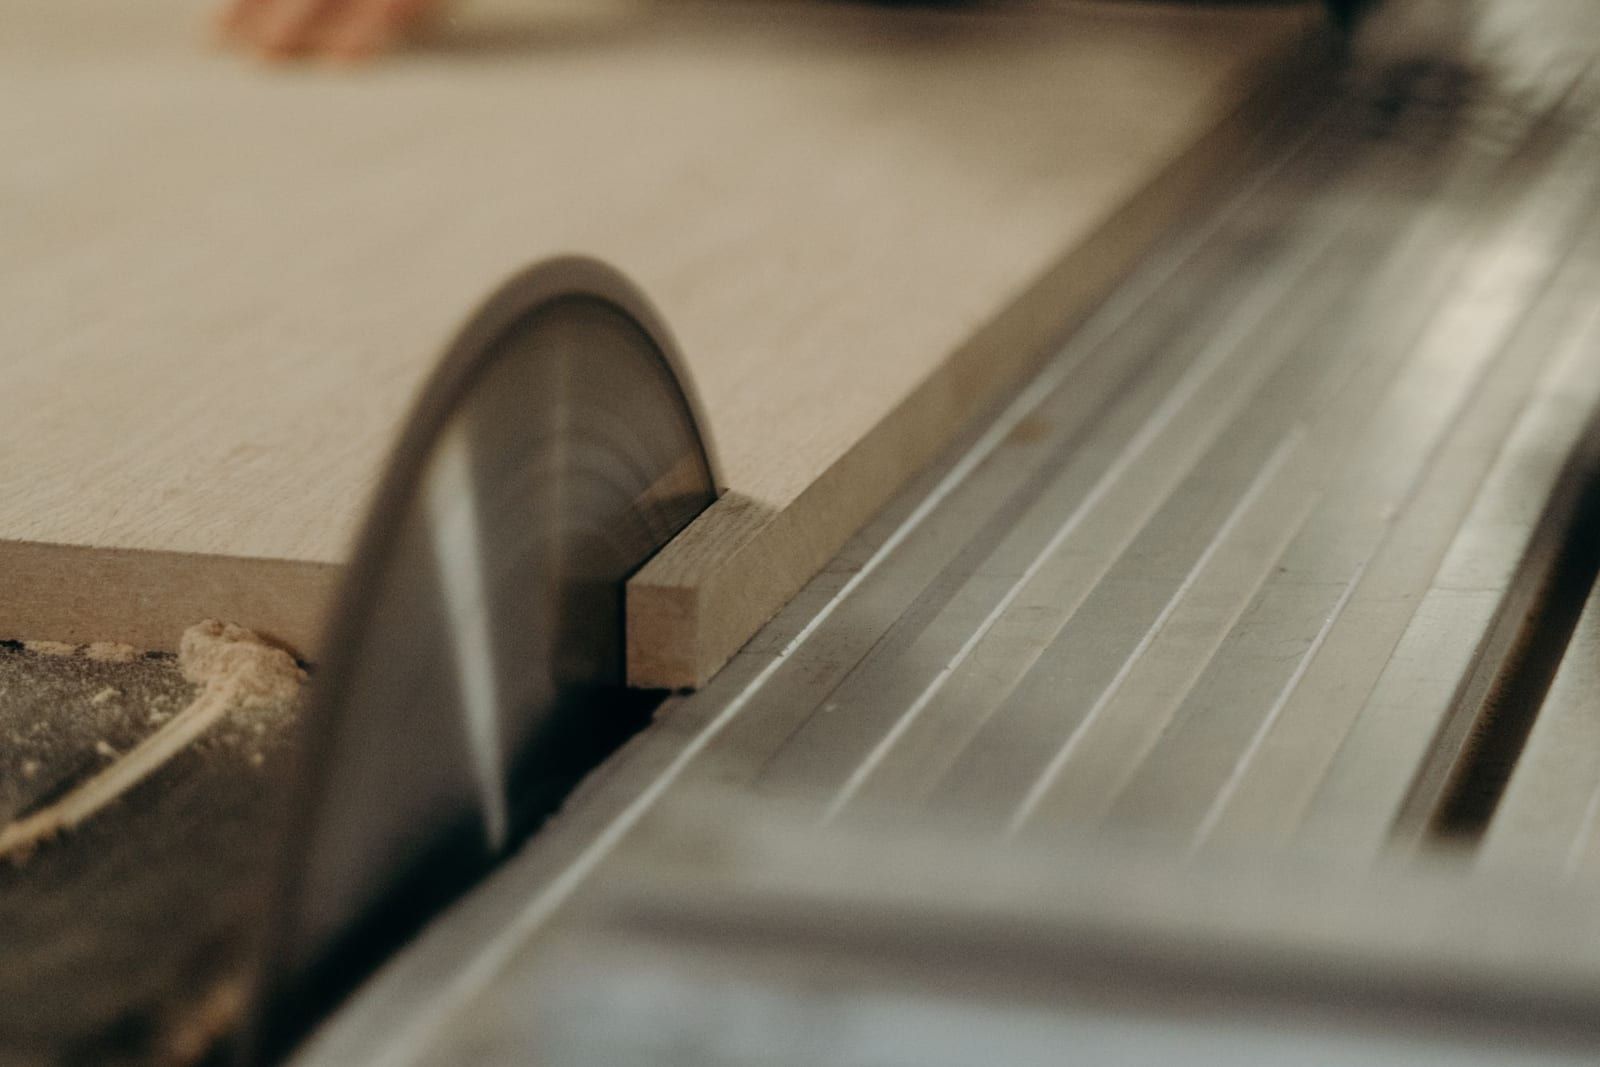
Four parts at 700 mm, a 2800 mm sheet, and everything fits on paper. After the third cut the last part is nearly a centimetre short. Nobody mismeasured. Each cut just ate its three millimetres. Kerf is the simplest thing in the workshop, and it still ruins more parts than anything else.
The kerf goes in the waste
How much a blade eats is usually stamped on it. In a marking like 160 × 2.2 × 20, the middle number is the kerf. A track saw blade cuts about 2.2 to 2.5 mm, a panel saw blade about 3.2 mm.
The kerf always goes on the waste side. Run the saw just beside the line, and the line stays on the part you keep. A track saw makes it simpler still: put the rail on the part you're keeping, and its edge is the line of cut. The kerf lands in the waste by itself. A cabinet-making manual from 1891 puts it briefly: saw on the outside of the mark, because sawing on the mark itself makes the socket too large by the width of the kerf.

Draw the kerf before you cut
Before you break down a sheet, draw it out. Squared paper is fine, or an offcut of hardboard. Between every two parts draw a fat kerf line, and leave a strip at the sheet edges for trimming, because sheets from the supplier usually have damaged edges. If the last part runs off the sheet, it won't fit, and you know before the saw is running.
You'll also see what's left over. From a 2070 mm wide sheet you get three 560 mm cabinet sides with a strip over 360 mm wide to spare. That's good material for shelves. Label it there and then and put it aside, rather than in the offcut bin.

The maths
how many fitn = ⌊(L + k) / (p + k)⌋
largest partp = (L − (n − 1) · k) / n
L is the trimmed length, p the part length, k the kerf, and ⌊ ⌋ means round down. A 2800 mm sheet trimmed to 2780 mm, 3.2 mm kerf: four parts of 690 mm fit, only three of 700 mm, and the most for four is 692.6 mm.
Strips first, then parts
On a panel saw you cut the whole sheet into strips first, then the strips into parts. Every cut runs from edge to edge, so the cutting plan has to be made of cuts like that. Parts packed into any pattern you like look thrifty on paper, but a panel saw can't cut them.

Breaking down a sheet by hand, start with the cuts that leave the most manageable pieces. A full sheet weighs several dozen kilograms and is hard to support evenly. A strip half a metre wide sits steady on two trestles and cuts without a fight.
Tape against tearout
Veneer and plywood like to tear where the teeth leave the material. Plain masking tape over the cut line helps, wrapped round the edge, on the face where the teeth come out: the underside on a table or panel saw, the top on a track saw or circular saw. The tape holds the fibres as the teeth come out. Peel it off afterwards. One trap: when you crosscut against a fence, don't leave a thick bit of tape on the edge that runs against the fence. It acts like a shim and throws the cut out of square.
The five-cut test
A square held against one part won't show an error of a few tenths of a millimetre. The five-cut test will, because it makes the error four times bigger. Take a piece of board about 400 by 400 mm. Trim one edge, turn it 90°, always the same way, and trim the next, all four in turn, each time with the edge you just cut against the fence of the sled or mitre gauge. With the fifth cut take a narrow strip off the first edge. If the strip is wider at one end than the other, the fence isn't square to the blade. Adjust it and run the test again.

The maths
e = Δ / 4
Δ is the difference in the strip's width between its ends, e the error of one cut over the strip's length. 0.8 mm over 400 mm is 0.2 mm per cut, or 0.5 mm per metre.
What the cut list doesn't tell you
A cut list has to give the size you cut, not the finished size. A shelf that should be 600 mm after 2 mm edge banding on both ends goes to the saw at 596 mm. 0.5 mm banding usually disappears in the fit, 1 and 2 mm don't. A back panel set in grooves has to be wider than the inside of the carcass by both groove depths, but not a press fit: leave a millimetre each side, because board moves with the humidity. And always cut solid wood longer and wider than the finished size. Planing takes off the bow, and what's missing you can't glue back on.
A drawing of the sheet with the kerfs on it, tape under the line, and the five-cut test now and then. That's enough for the last part to come out to size.
Sources
- The Art and Craft of Cabinet-making (opens in a new tab), 1891: sawing on the outside of the mark
- A. Ferrazzutti, Eliminate Tearout with Tape (opens in a new tab), Fine Woodworking, 2009