
Jigs
Zero-clearance on a mitre saw
Kerf plates and a wooden facing: clean bottom edges, a visible cut line, and offcuts that stay out of the blade.
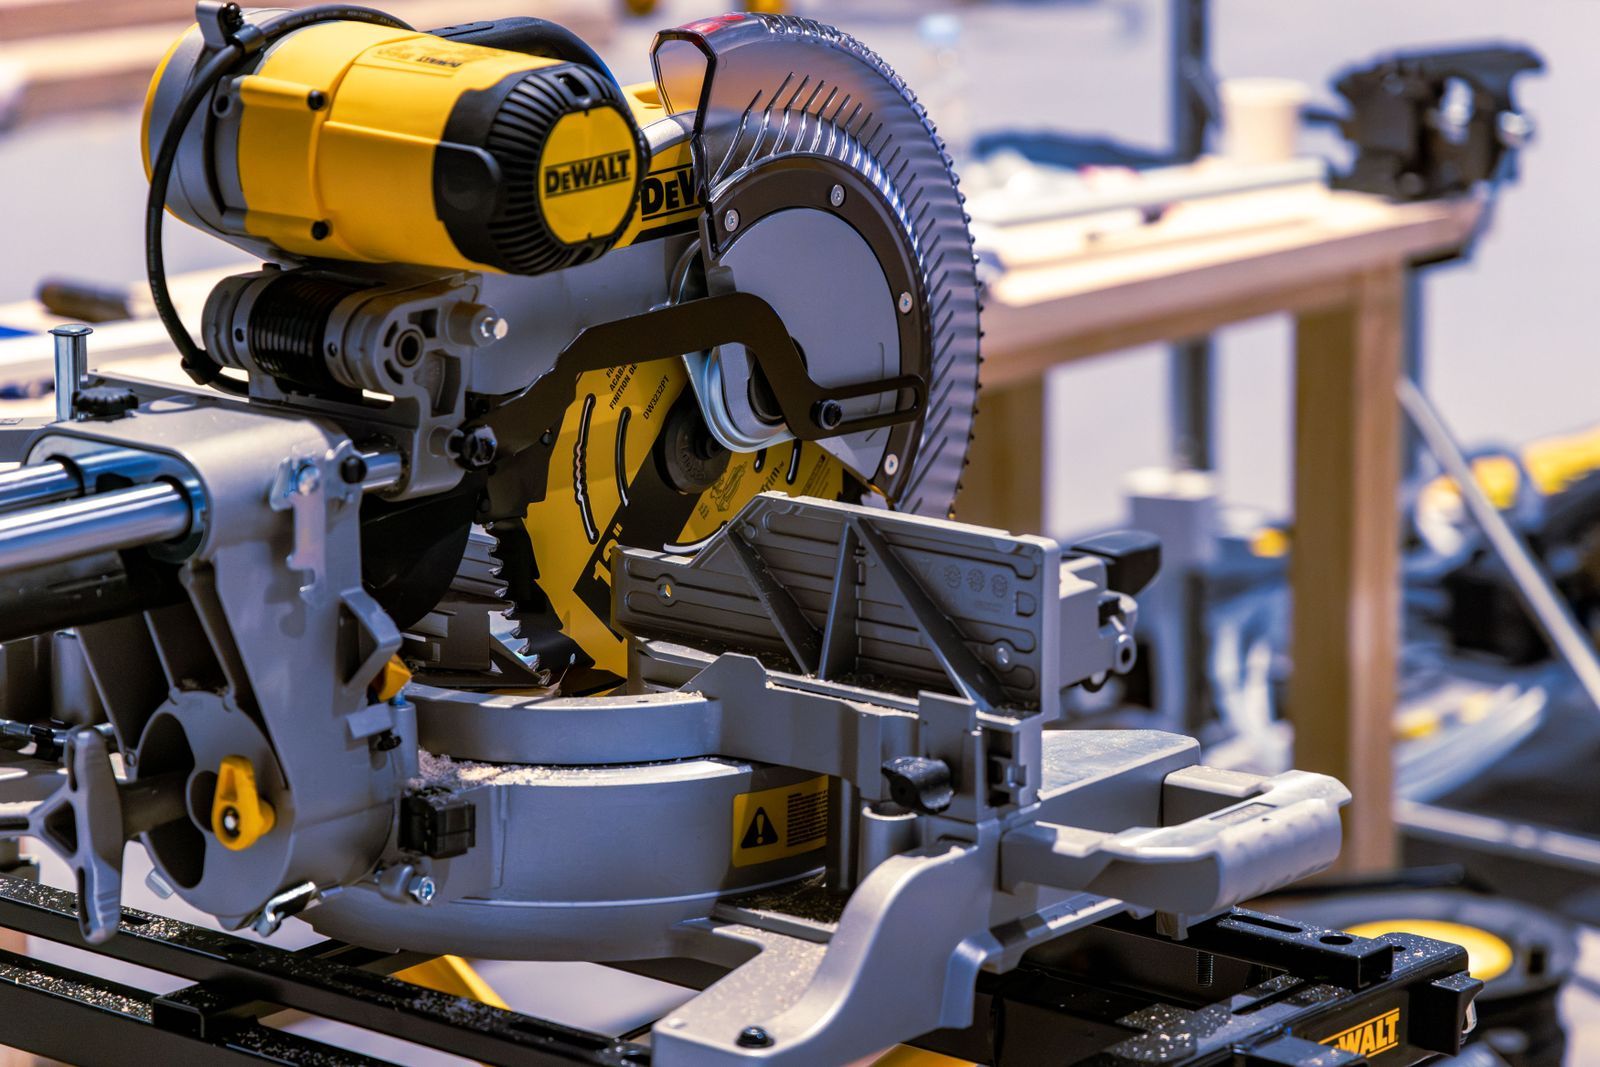
Around the blade of a mitre saw there's a slot in the table and a gap in the fence. When you cut, the fibres on the bottom and back edges have nothing behind them there, and they tear out. The gap also hides exactly where the blade will pass, and a small offcut can drop into it or jam against the blade. Close the gap to exactly the width of the blade, and all three problems largely go away.


Kerf plates
Many mitre saws have sliding plates in the table on either side of the blade. Loosen them, slide them in until they nearly touch the blade, and tighten them. For the smallest gap, push the plates together and cut slowly through them with the blade.

On a sliding saw, check the whole length of travel: the blade mustn't touch a plate with the head pulled towards you or pushed back to the fence. After changing the bevel, set the plates again. Replace worn ones. DeWalt says to do it once the slot is wider than 10 mm.
A wooden facing
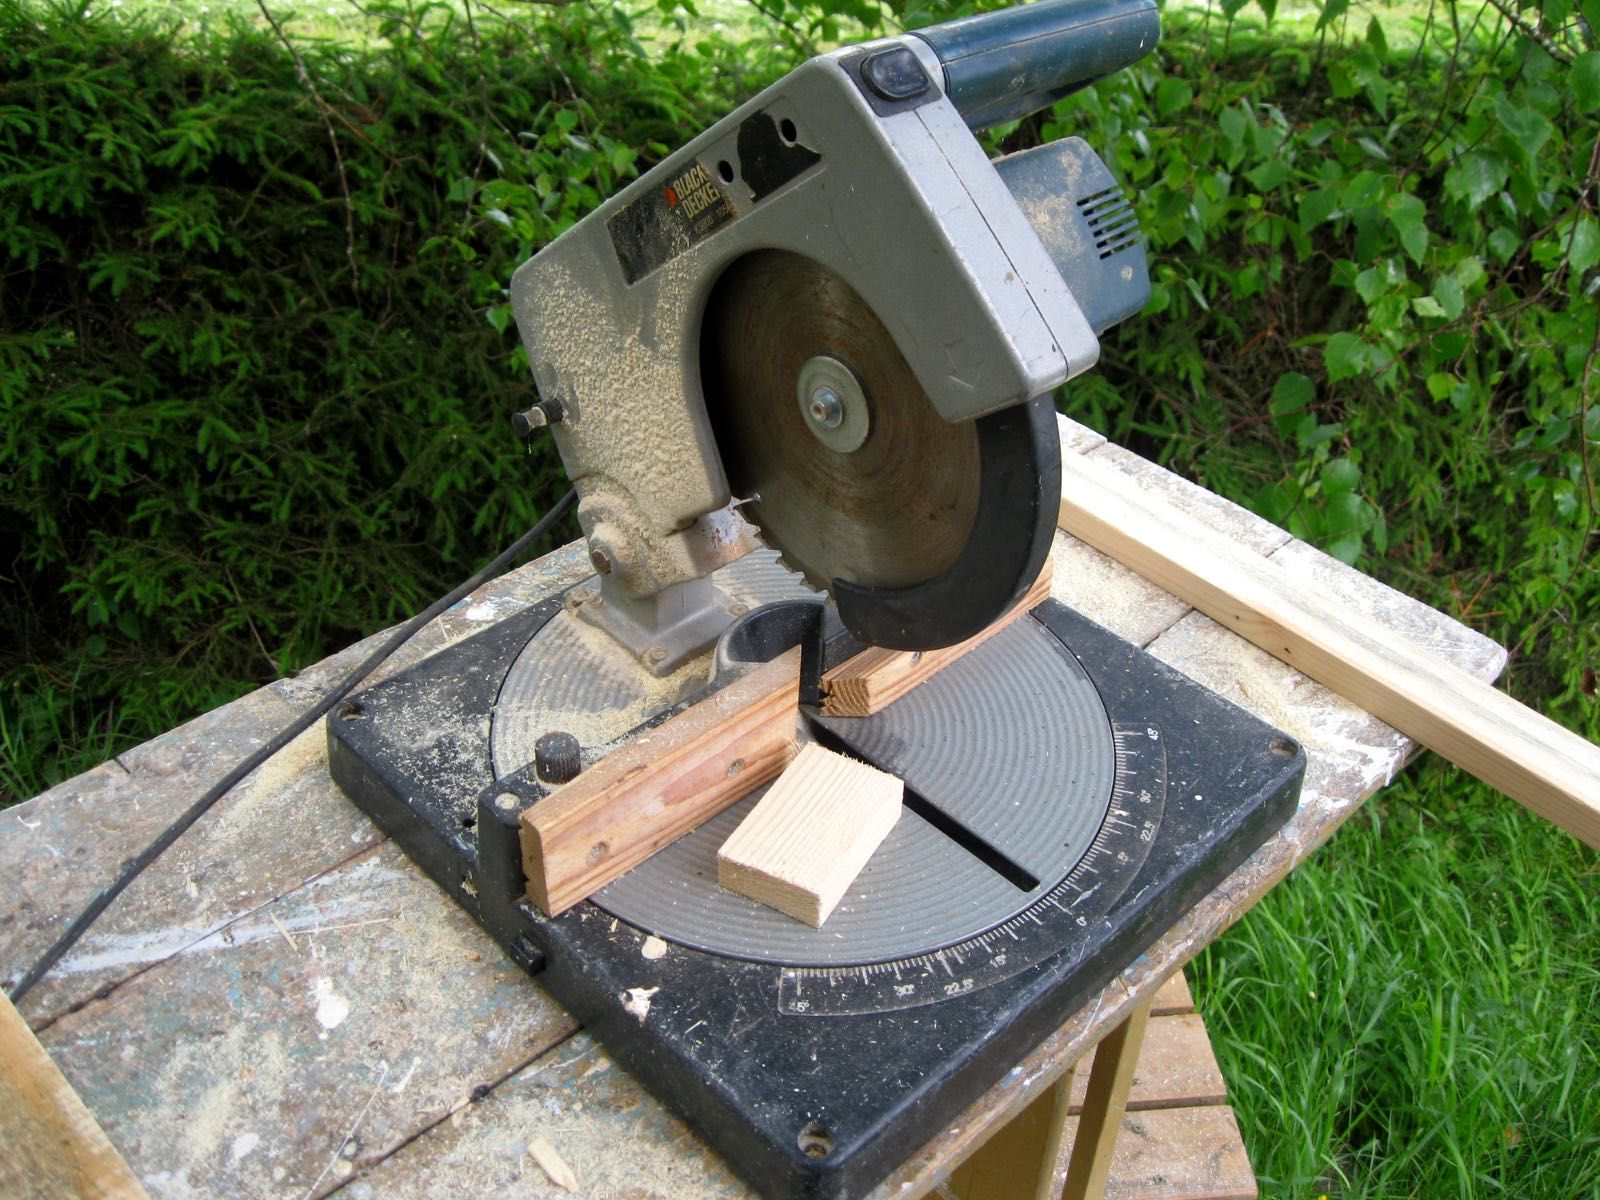
When there are no plates, or you want to close the gap in the fence too, make an L-shaped wooden facing: a base for the table and an upright board for the fence. The base should be at least as deep as the table, and the upright taller than the stock you cut. Use straight plywood of even thickness, such as 12 mm. Glue the two parts together and screw the upright to the fence through the fence's holes, with the screw heads sunk into the wood.
On a sliding saw, lock the head pushed back to the fence and make three cuts: at 0° and at 45° each way. The base has to be deep enough that the blade doesn't cut right across it. At least 7 cm of solid wood should stay at the front. With the facing on, don't swing the table with the head lowered, or the blade will cut into the facing.

Working with the facing
Put the mark on the piece at the edge of the kerf, on the waste side, and you can see at once where the blade will pass. Each angle and bevel cuts its own kerf, so the facing weakens with time. When, after many cuts at different angles, it no longer supports the work well, replace it.
The kerf only fits the blade that cut it. Fit a thicker or thinner blade, let alone move to another saw, and the gap is no longer zero, so you need a new facing. If you cut at different angles a lot, make several facings, for example one for 0° cuts and another for 45°.
Before the first cut, bring the lowered blade through its whole travel with the saw switched off, and check that it doesn't catch the facing anywhere. Keep your hands at least 100 mm from the blade, as the Makita and Bosch manuals say, while DeWalt gives 152 mm. After the cut, wait for the blade to stop before you take the offcuts away.
Sources
- M. Adams, Get More from Your Miter Saw (opens in a new tab), Fine Woodworking no. 236, 2013: what zero-clearance does
- M. Millham, How to Make a Zero-Clearance Miter Saw Fence (opens in a new tab), Fine Homebuilding: idea and build of the facing, the first three cuts
- M. Spurn, Zero-clearance chop saw overlay (opens in a new tab), Woodcraft Magazine, 2020: a 12 mm plywood facing
- DeWalt DWS780 manual (opens in a new tab): adjusting the kerf plates, replacing them at 10 mm, replacing a platform after many cuts at different angles, 152 mm from the blade
- Makita LS1018 manual (opens in a new tab): setting the kerf boards, a wood facing screwed to the fence, 100 mm from the blade
- Bosch GCM 8 SJL manual (opens in a new tab): plates clear over the whole slide travel, a dry run before cutting