
Jigs
A crosscut sled for the table saw: build, square, guard
When a sled suits your saw, gluing the runners on, squaring the fence, and what to use when it does not.
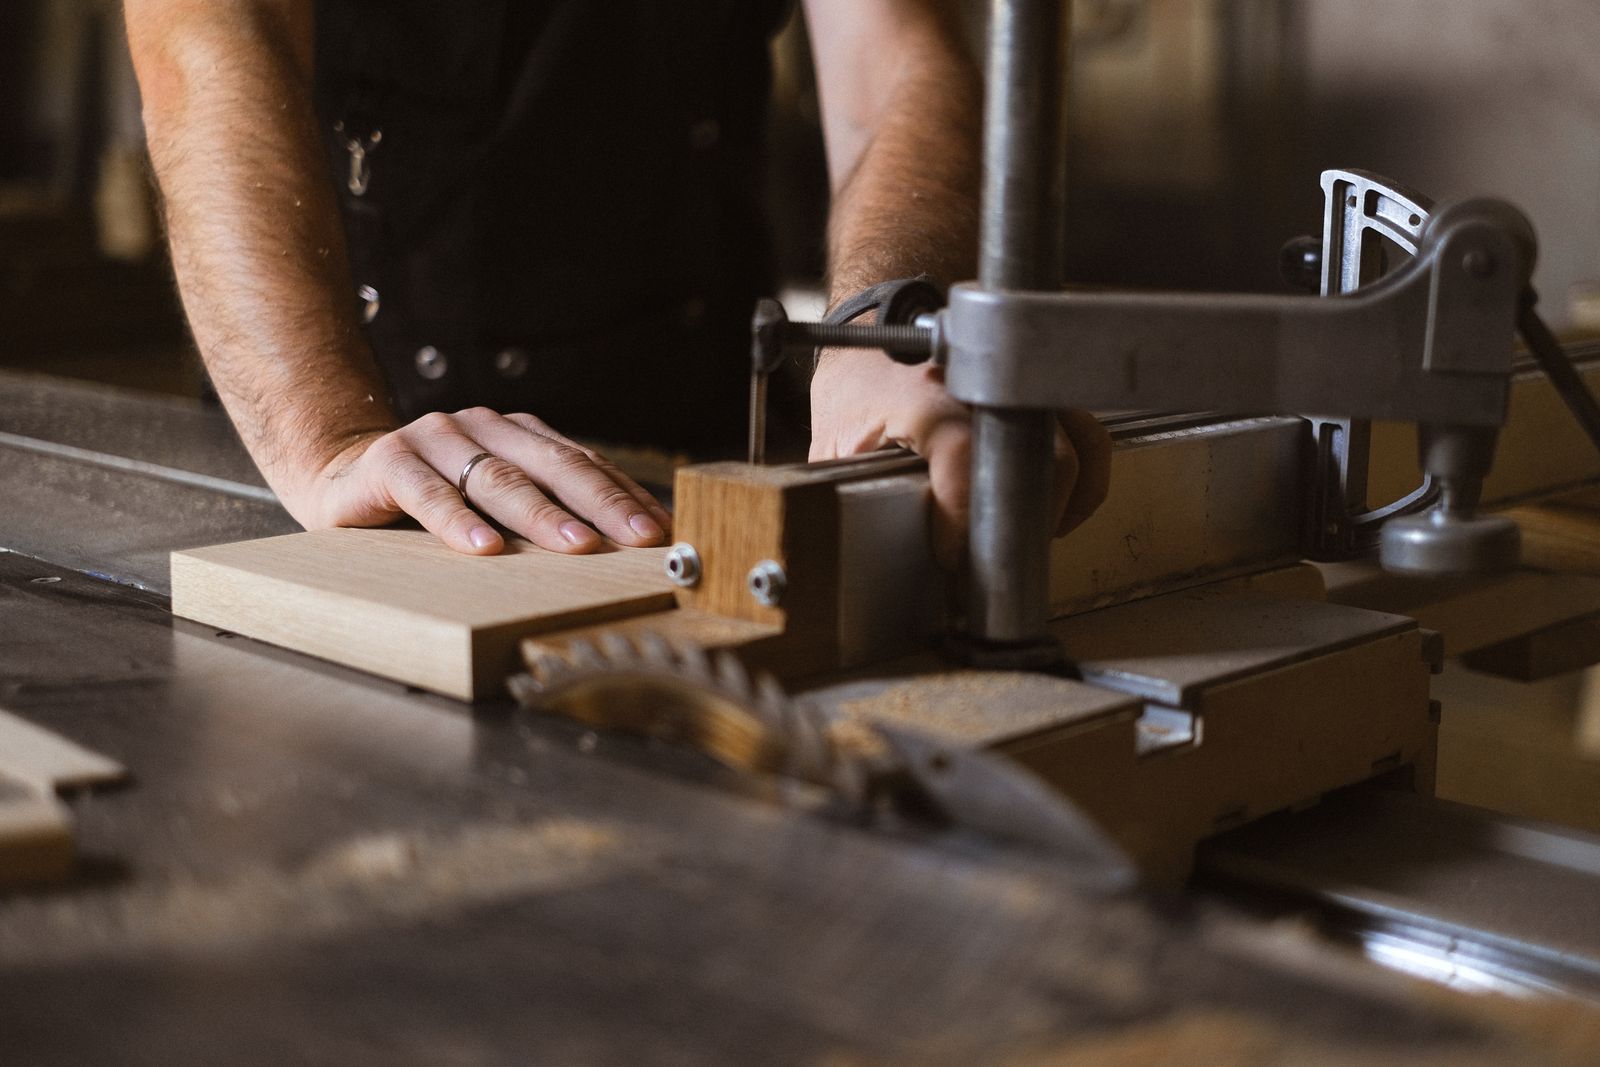
The mitre gauge on a table saw has a short fence and a single bar in one slot. A wider board can swing on it during the cut, and the end comes out off square. A sled works differently: the board sits on a base that runs in both slots at once, and a fence set square once stays square for every cut. Before you build one, though, check one thing on your saw.
The guard comes first
This post doesn't encourage anyone to skip safety rules. The rules differ from country to country. Below I quote the British, Polish and German ones, so also check the ones that apply where you work. In the end you decide how you work at your own saw, and your safety is yours to look after.
The UK's HSE says top guards and riving knives should be fitted to all circular saw benches, and the guard should be set as close as possible to the work. In Poland, the labour inspectorate (PIP) lists removing guards while the saw runs among the things you must not do.
On many site saws the guard is fixed to the riving knife. That's the case on the DeWalt DWE7491 and on some SawStop setups, for example. The fences of a sled won't pass under a guard like that. If your saw has its guard on the riving knife, don't build a sled. Skip to the last part of this post.
A sled makes sense where the guard hangs over the blade on its own arm, separate from the riving knife. The German Holz-BG guide to table and panel saws shows exactly that kind of guard. Even then, the guard can only come down to the top of the sled's fences, not to the board itself. That's higher than HSE asks for. So make the fences only as tall as they need to be for the blade not to cut through them, and set the guard just above them.

Base and runners
Make the base from Baltic birch plywood 9 or 12 mm thick. For everyday work about 760 × 460 mm is enough. Most parts we crosscut are 100 to 200 mm wide, so a small, light sled is usually handier than one big one.
Runners are most often hardwood, but strips of plywood work well too. For the usual American slot they're 19 × 9.5 mm. Your saw's slots may differ, so measure the width and depth first. Plane the runner until it fits the slot with no play and still slides freely.
The hard part is gluing the runners on parallel to the slots. Put the runners in the slots on strips of thin plywood about 3 mm thick, or on coins, so they stand a touch above the table. Set the rip fence so the base, pushed against it, sits in the middle, spread glue on the runners and lay the base on them. After 10 minutes drive a few brads through, lift the sled off, and once the glue is dry add screws from underneath. Don't use countersunk screws, because their tapered heads spread a thin runner. Use round-head screws set in counterbored holes in the runner. If the sled runs tight, wax the runners.


Squaring the fence
A sled has two fences. The blade cuts right through the far one, along with the base. The near one, on your side, is only cut as high as the blade stands, so that fence holds the two halves of the base together. It's the working fence: you hold the board against it, and it's the one that must be square to the blade.
Fix the working fence with two screws from underneath for now. One near the left end, through a plain hole, is the pivot. The other, near the right end, goes through a slotted hole so that end can move. Cut through the base and the far fence, stopping just short of the working fence. Slip a strip of plywood into the kerf, hold an accurate square against it, and tap the fence until it touches the square along its length. Clamp it and make a test cut.
Then run the five-cut test from the post on sheets and kerf. It gives you the difference in a strip's width between its ends. From that you can work out how far to move the free end of the fence. The direction is easy to get backwards, so run the test again after every adjustment. If the difference grew, move it the other way. When you're happy with the result, screw the fence down with about a dozen screws along its length.
The maths
x = (Δ / 4) · (D / L)
Δ is the difference in the strip's width, L the length of the test cut, D the distance from the pivot screw to the screw in the slot, and x how far to move the free end. 0.8 mm difference over 400 mm, with the screws 700 mm apart: 0.35 mm.

If you push the sled too far, the blade comes out through the back of the working fence, on your side. Screw a thick block on there. Your hand should never be there, but if it is, the block will protect it from the blade.
Using the sled
The kerf in the base shows exactly where the blade will pass. Line up the mark on the board with the edge of the kerf on the side you keep, and the kerf goes into the waste. For a run of identical pieces, clamp a stop block to the working fence and slide the end of the board up to it.
Keep your hands out of line with the blade. HSE says plainly that they should never be in line with it. Raise the blade only as far as the teeth need to clear the board. After the cut, switch off, wait for the blade to stop, and only then take the offcuts away. That's what the DeWalt manual tells you to do.
When the guard sits on the riving knife
Then you stay with the mitre gauge and add what it lacks. Screw a long, straight wooden fence to its face. A fence like that supports longer and wider pieces. The fence can reach well out on the side away from the blade, but on the blade side it has to stop a few millimetres short of it. Then it touches neither the riving knife nor the guard, and both stay where they are.

Clamp a stop block for repeat lengths on this fence, on the side away from the blade. The offcut then lies free on the other side. Don't butt the end of the board against the rip fence. SawStop says to move it clear when crosscutting, because a board caught between the fence and the blade can be thrown back. The Holz-BG guide says to pull it back for short pieces, so that it ends before the teeth of the blade.
Sources
- B. Van Dyke, Simple Crosscut Sled (opens in a new tab), Fine Woodworking no. 308, 2024: idea and build of the sled, squaring the fence, block behind the working fence
- Build a precision crosscutting sled (opens in a new tab), Freud: runner size, coins under the runners
- HSE, Circular saw benches: safe working practices (opens in a new tab), WIS16, revision 2: guard, riving knife, hands out of line with the blade, blade height
- PIP, Prace pilarką tarczową (opens in a new tab), 2017: removing guards is forbidden
- Holz-BG, BGI 5074 Tisch- und Formatkreissägemaschine (opens in a new tab), 2007: a guard not fixed to the riving knife, the rip fence pulled back before the blade
- SawStop Professional Cabinet Saw manual (opens in a new tab), 2025: guard on the spreader in some setups, mitre gauge fence, moving the rip fence clear
- DeWalt DWE7491 manual (opens in a new tab): guard on the splitter, switching off before removing offcuts