
Jigs
A stop block on a mitre saw: many parts, one length
Clamp a block at the right length and every part cut against it comes out the same, with no measuring part by part.
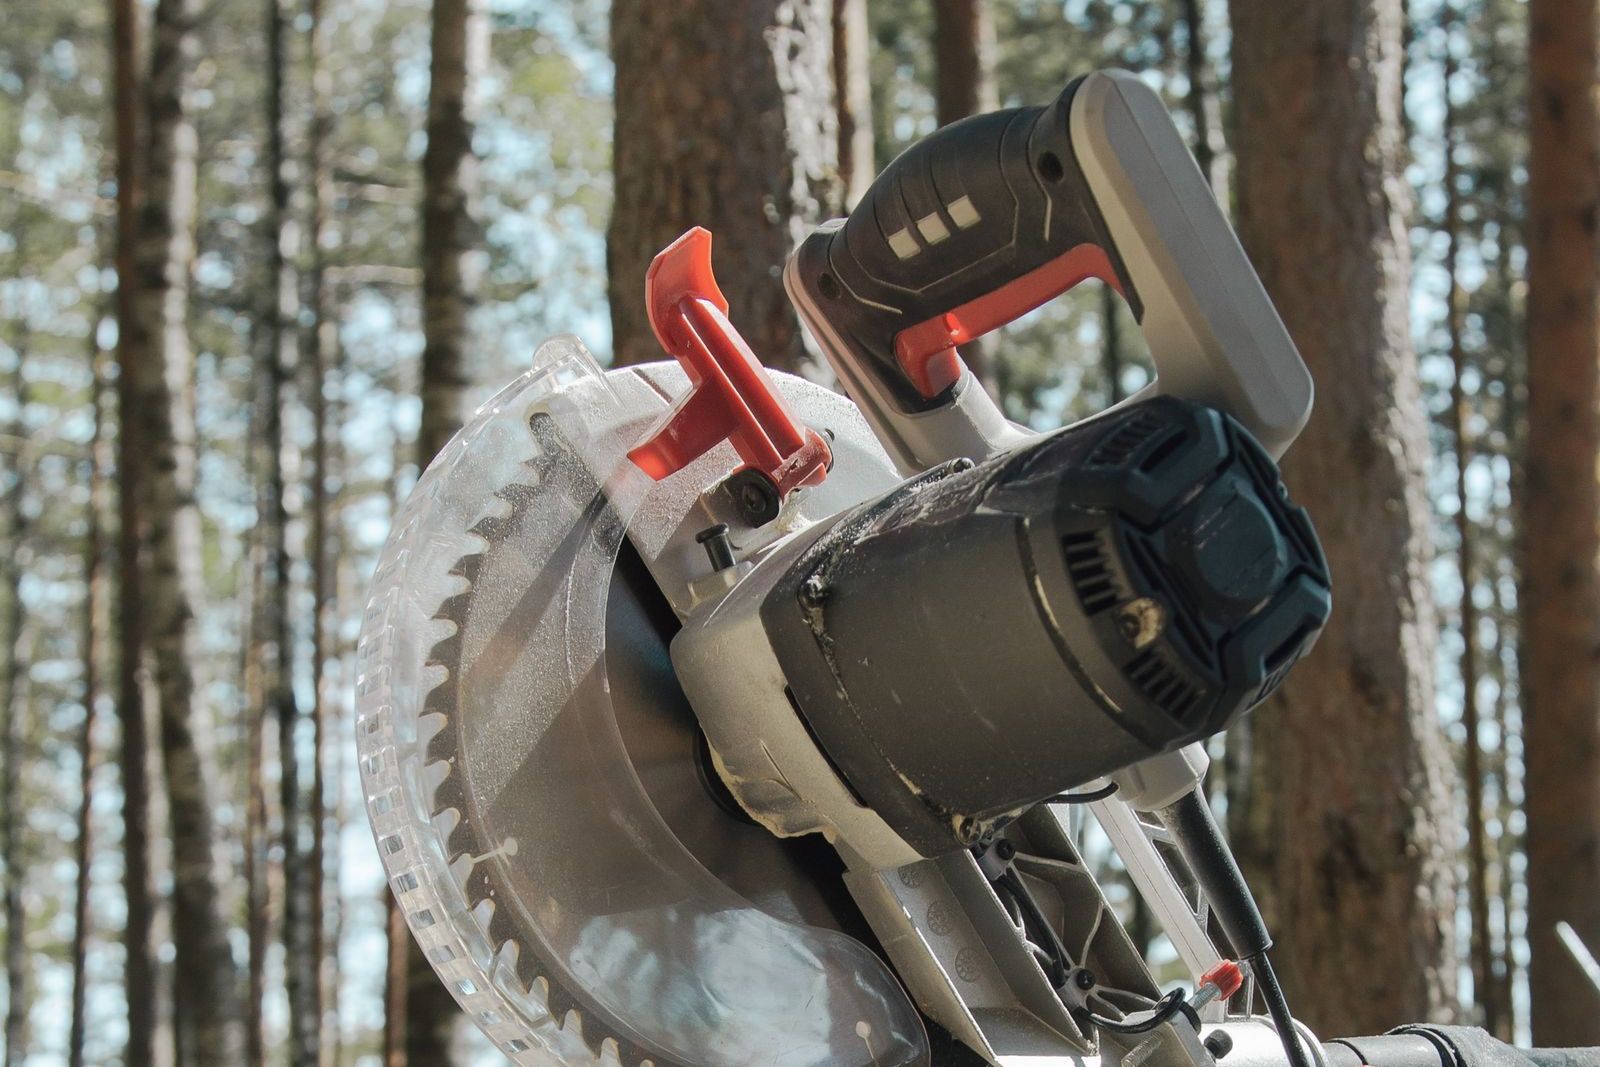
A stop block is about the simplest jig there is: a block clamped along the saw fence at the length you need. Push each part up to it, cut, and every part comes out the same length. It earns its place whenever you need several matching parts, such as shelves, rails or drawer sides, because measuring and marking each one adds its own small error and they never quite match. This post covers setting the block up on a mitre saw, keeping sawdust from throwing it off and cutting short parts safely.
A board along the fence
A mitre saw fence is usually short, and the block has to sit further out. Screw a straight board to the fence that runs well out to the side, as with a wooden facing. You can clamp the block anywhere along it. Support long parts on both sides at table height.

Setting it
First cut one end of every part square. That's the end you'll push against the block, so it must be clean and square.
On the first part, measure the length from the squared end and make a mark. Lay it against the fence and lower the blade without switching on. Pick a tooth set towards the block, the side of the part you keep, and line the mark up with it. The kerf then falls on the waste side. Slide the block up to the squared end and clamp it firmly. If the block moves at all, the lengths will start to vary.
Cut the first part and measure it. If it's long, move the block and try again. Better to set it long than short, because a long part can be trimmed and a short one can't. Once the length is right, cut the rest: each part squared end to the block, held against the fence.
Sawdust at the block
Every cut throws sawdust into the corner between the block and the table. It only takes a little to keep the part off the block, and the part comes out long. Fuzzy fibres on the squared end can fold back between the block and the part with the same result.

Cut the bottom corner of the block off at an angle on the side facing the part. The dust then has somewhere to go, and the part bears on a clean face above it. Even so, brush the dust away every few cuts, and check that the end is clean before you push the part home.
The piece between blade and block
The part you've just cut to length lies between the blade and the block, and after the cut it has nowhere to go. If you lift a spinning blade, a tooth can catch it and throw it. So always wait for the blade to stop completely before raising the saw head, and keep your hands clear of it until then. If your hands would have to come closer than 152 mm to the blade, hold the part with a clamp.
For short parts, put a spacer from scrap between the block and the part, and set the block further out by its thickness. Push the part up to the spacer, hold it, take the spacer out and only then cut. The cut piece then has room and doesn't jam against the blade.
A table saw has a stricter rule, and it's one of the basic safety rules: never use the rip fence as a stop block when crosscutting. A piece trapped between the blade and the fence gets thrown. Clamp the block to the fence at the front of the table, before the blade, so the part clears it before it reaches the blade.
Sources
- G. D. Huey, "Use Stop Blocks; They're Dead-on" (opens in a new tab), Popular Woodworking, 2007: the tooth on the part's side, dust and fibres at the block
- J. Largesse, "How To Cut Multiples with a Miter Saw" (opens in a new tab), This Old House, 2026: an angled block against sawdust
- R. Burns, "Crosscutting Short Multiples" (opens in a new tab), Woodcraft Magazine, 2016: a piece thrown from between blade and block, a spacer, the blade stopped before lifting
- T. McKenna, "Clever Stop Block for Crosscutting on the Table Saw" (opens in a new tab), Fine Woodworking no. 262, 2017: never the rip fence as a stop
- DeWalt DWS780 manual (opens in a new tab): the blade stopped before raising the arm, 152 mm from the blade, supporting long work