
Jigs
A bench hook and a mitre box: hand sawing without a vice
Two simple jigs for hand sawing: a bench hook to hold a part for crosscuts, and a mitre box to guide the saw at 45° and 90°.
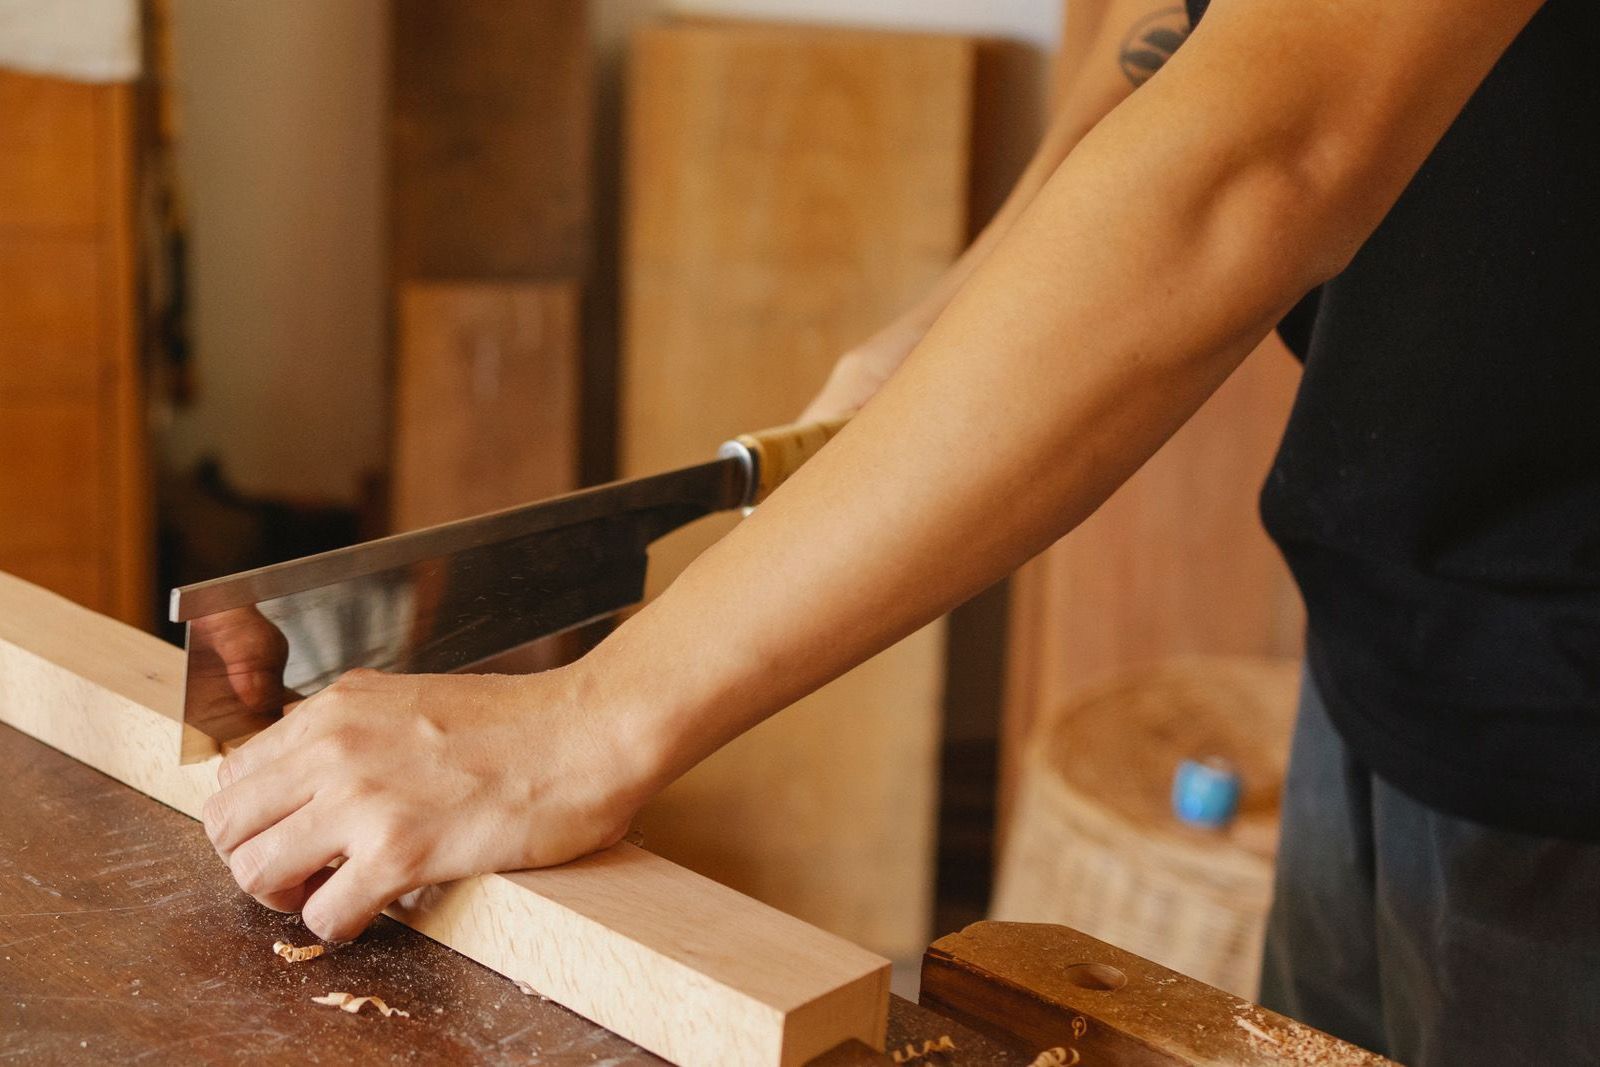
Hand sawing a short part goes wrong in two ways: the part moves, or the saw wanders off the line. Two simple jigs, both made from offcuts, take care of one each. A bench hook is a small board that hooks over the edge of the bench and gives the part something to push against while you crosscut it. A mitre box is a three-sided trough with slots that hold the saw at 45° and 90°. Most hand tool workshops have both, and they're among the first jigs worth making.
The bench hook
A bench hook is a short board with a batten on each face, at opposite ends. The batten underneath, at the near end, hooks over the front edge of the bench. The batten on top, at the far end, holds the work. You press the part against the top batten by hand, and the same push holds the hook against the bench. No clamp needed.

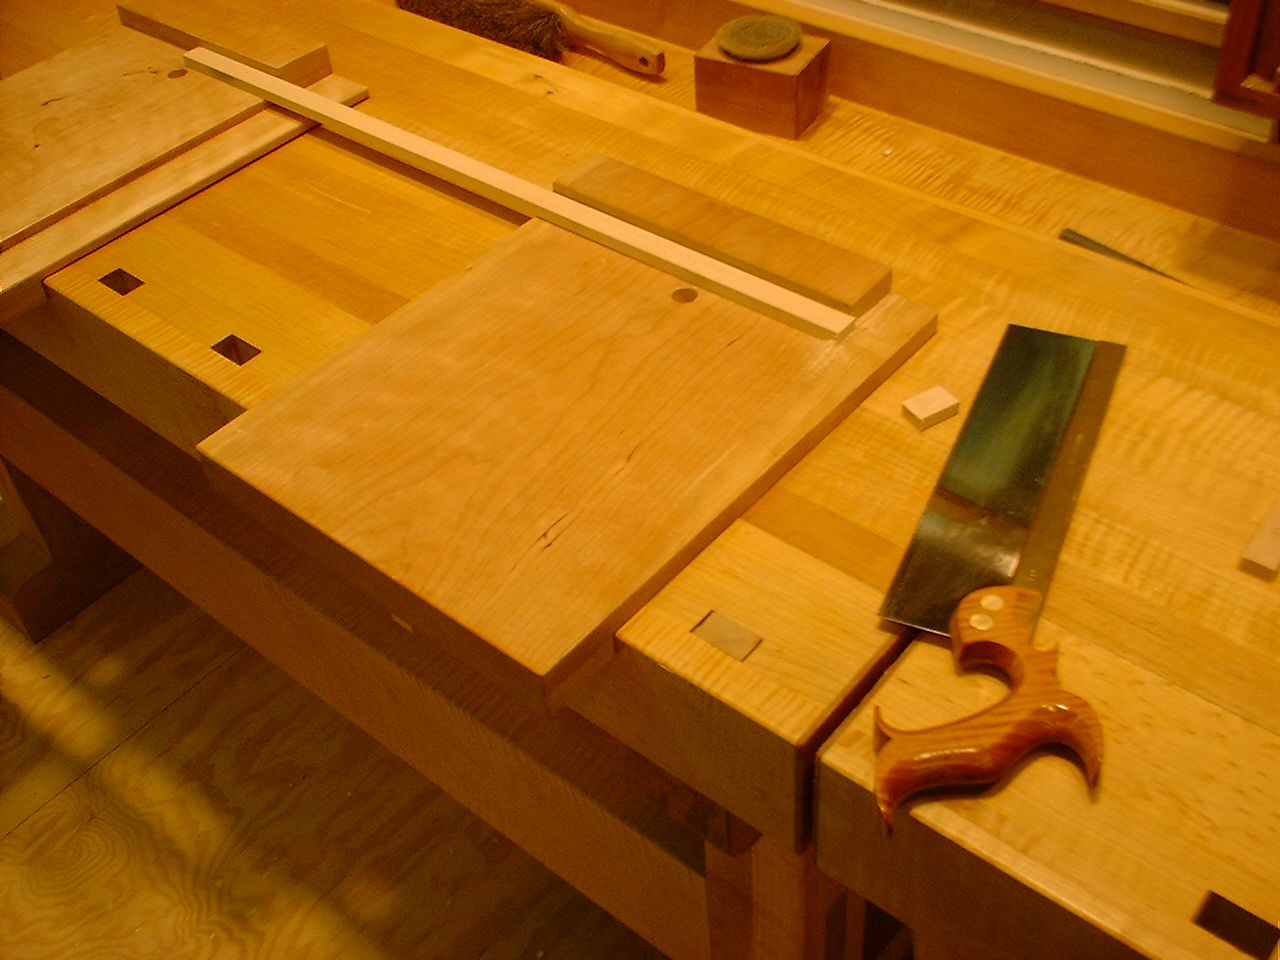
The size is up to you. A piece of plywood about 150 × 250 mm with two battens across its width will do. You can make the top batten shorter, so a few centimetres of bare board are left at one side. Then the saw, once through the part, cuts the board and not the batten or the bench. Glue the battens and nail or screw them, but well away from where you'll saw. Set the top batten square to the edge of the board with a square.
Don't varnish it, or the work will slide about. The saw will cut up the board over time, and that's fine, because it's meant to be used up. When there are so many kerfs that the part has nothing to sit on, make a new one.
Square the cut line across the top of the part and down its edge on the side facing you. Saw so the kerf follows both lines at once. Two lines are much easier to hold than one. Support a long part at its other end with a second hook, even one without a top batten.
The mitre box
A mitre box is a bottom and two sides, put together in a U. A good size is 300 to 600 mm long and 75 to 150 mm inside, depending on the mouldings you'll cut in it. Make it from wood that won't warp. The sides must be parallel and square to the bottom on the inside, so check each part with a square. Put it together with screws, which are better than nails.
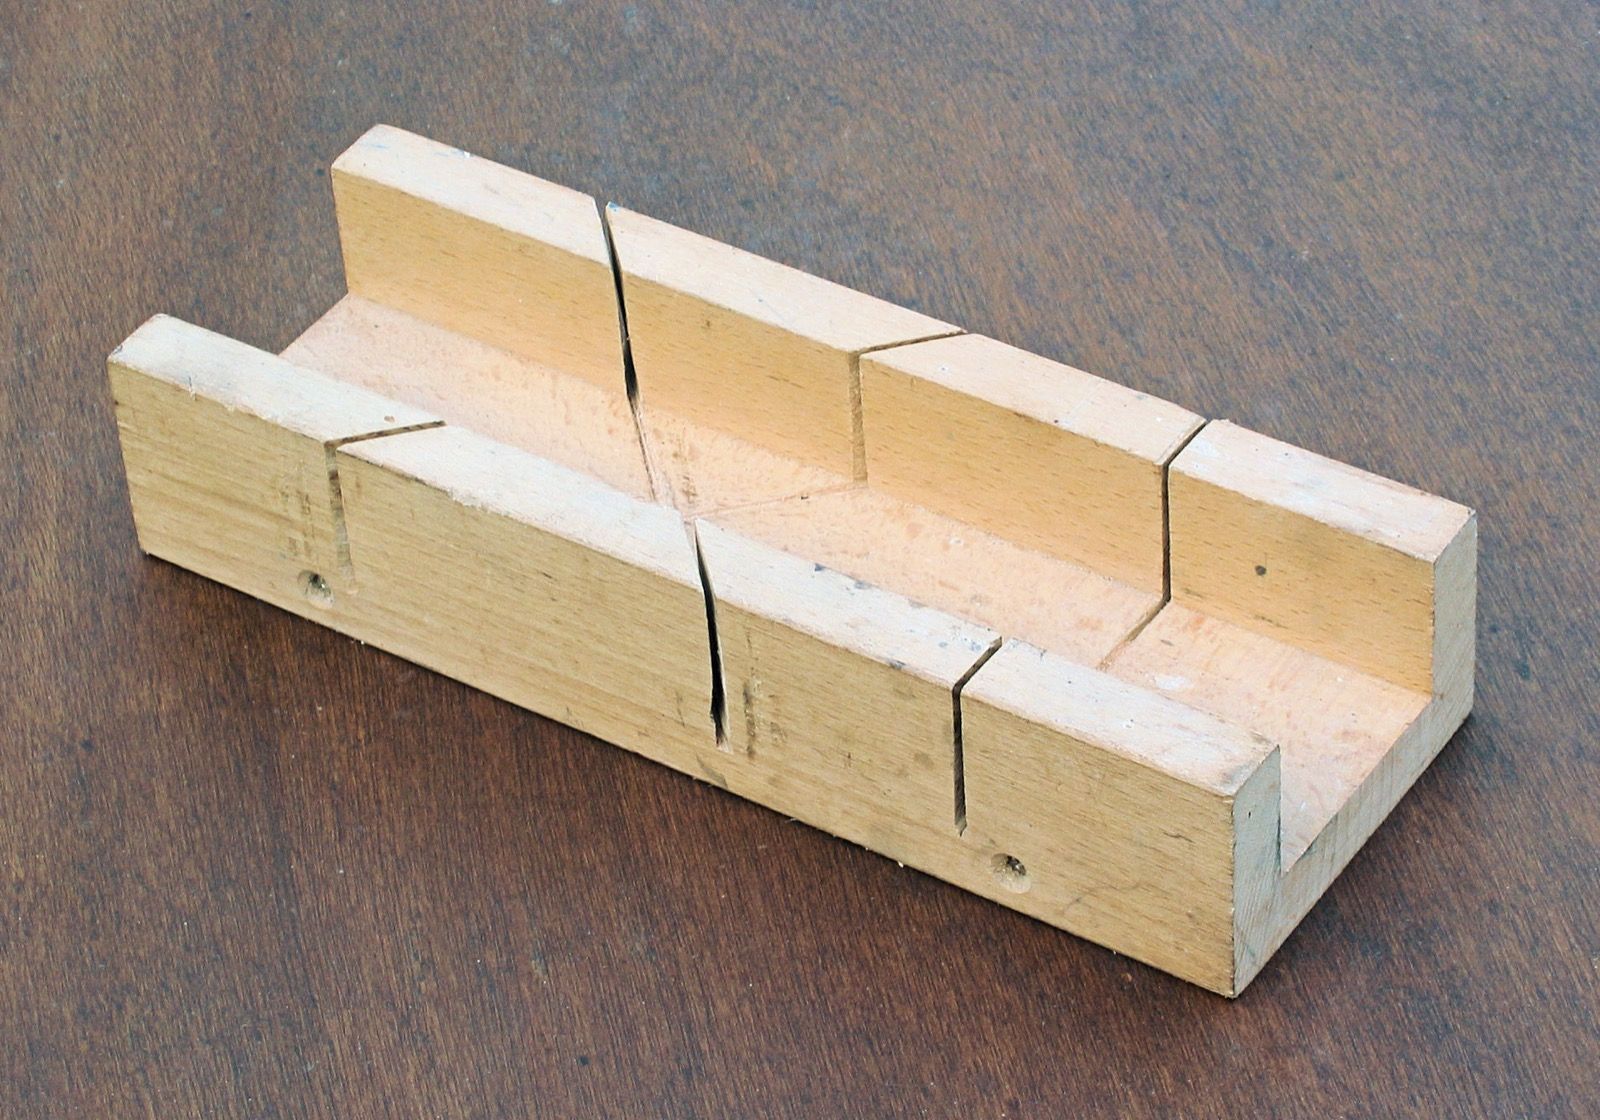
You can lay out 45° without a protractor. Mark a point on the inside edge of the near side. Mark a second one on the inside edge of the far side, further along the box by exactly the distance between the sides. The line through the two points runs at 45°. With 80 mm inside, the points are 80 mm apart along the box. Lay out the second 45° the same way in the other direction, and a 90° line straight across with a square.

Carry the lines over the top edges of the sides, then square them down the outside faces. Cut the slots with the backsaw you'll use for the work, following the plumb lines on both sides. Sawing them plumb is the hardest part, because any lean in a slot leans every cut you make in it later.
When you use it, hold the part against one side and put a scrap under it, so the saw doesn't deepen the bottom. The saw wears the slots over time and the box loses accuracy. Check it now and then: cut two short pieces at 45°, put them together and hold a square to them. When the saw starts to wobble in the slots, make a new box.
You can also saw 45° kerfs in the top batten of a bench hook. Then one jig does both jobs.
Sources
- C. G. Wheeler, Wood-working for Beginners (opens in a new tab), 1900: box sizes, sides parallel and square, laying out 45° by an offset equal to the width, screws, mitre kerfs in the batten of a bench hook
- D. Fenton, C. Miller, "The Bench Hook" (opens in a new tab), Fine Homebuilding no. 112, 1997: a 6 × 10 in. board, battens on opposite faces
- C. Schwarz, "Build a Bench Hook" (opens in a new tab), Popular Woodworking, 2026: no film finish, sawing to two lines, a second hook for long work