
Jigs
A shooting board: square ends with a hand plane
A shooting board guides a plane on its side to true the end of a part dead square. How it works, and how to build and set it.
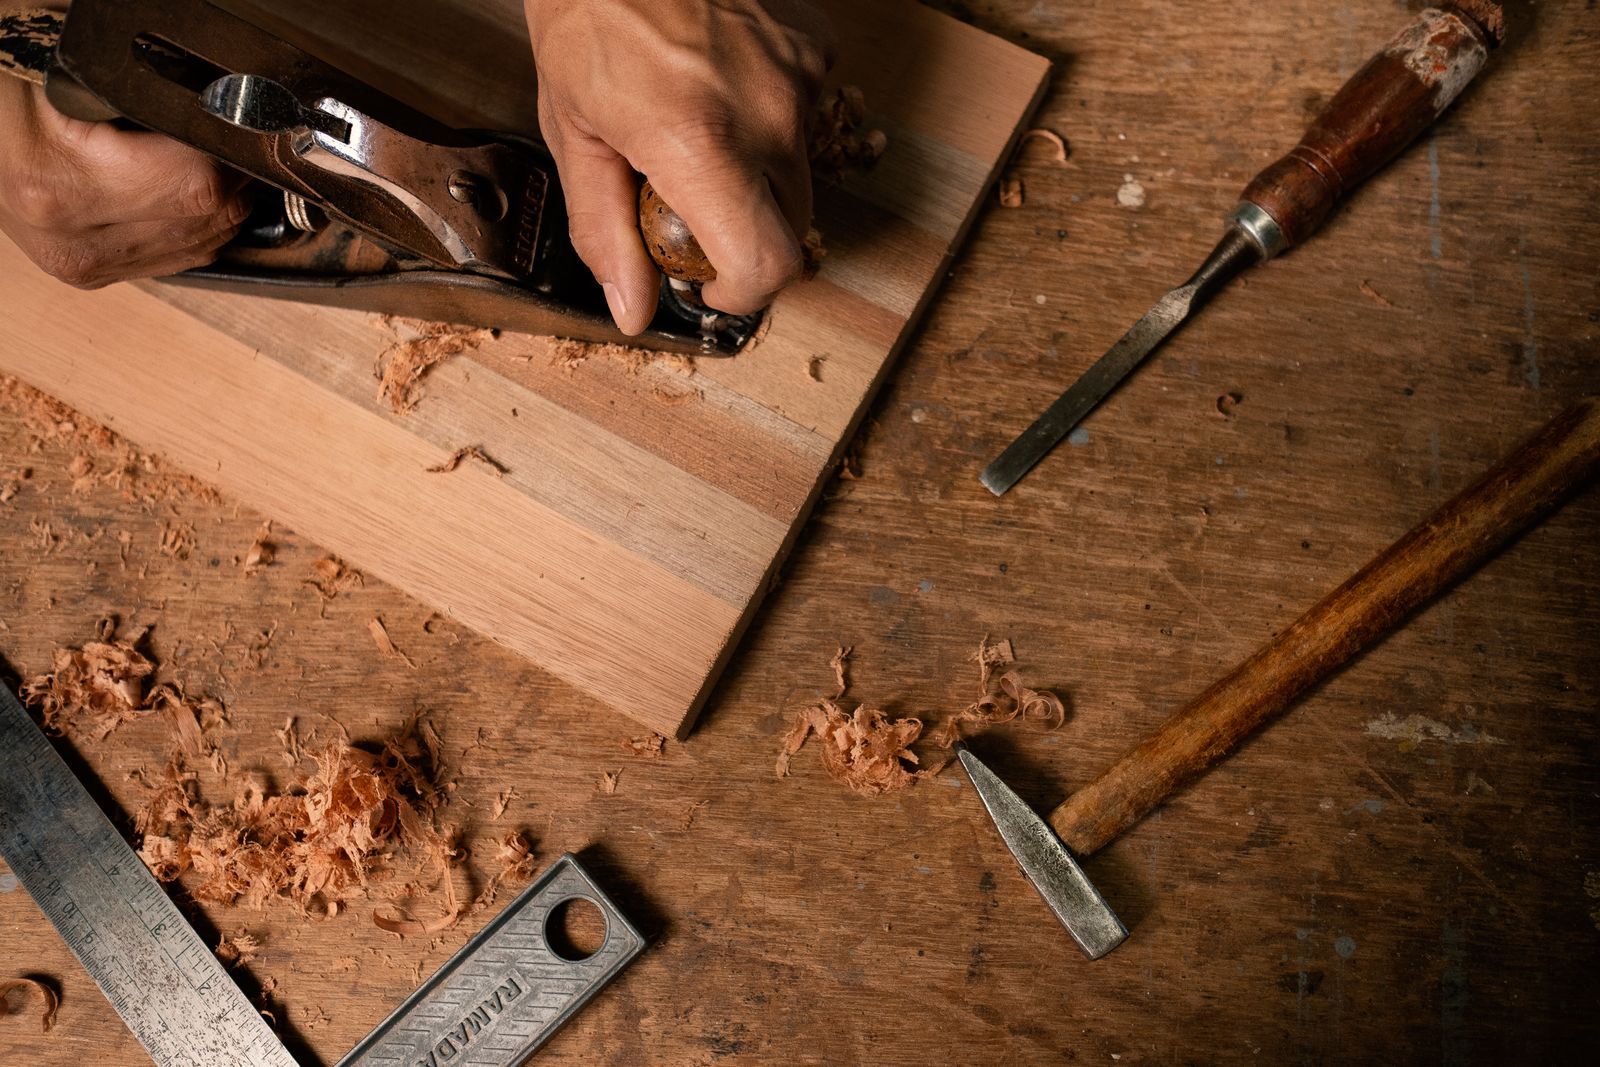
A shooting board is a jig for planing the end or edge of a part dead square. The part lies on a platform against a stop, and the plane lies on its side on a lower runway beside it, guided by the platform's edge. A sawn end rarely comes out perfectly square and smooth, and freehand the narrow end gives a plane nothing to rest on, so it tips. On the board the plane can only travel one way, and a thin shaving at a time brings the end exactly square. It's a long-standing hand tool jig, and it costs a few offcuts.
How it's built
There are three parts. A narrower platform sits on a wide base and leaves a lower runway along one edge, where the plane runs. A stop sits across the end of the platform, at exactly a right angle to its edge. The stop should end flush with the platform edge, or the plane will catch it.

The sizes are up to you, as long as the board takes your parts and your plane. A good start is a base about 250 mm wide and 650 to 750 mm long, with a platform 75 to 100 mm narrower. Use dry, straight pine or sheet stock about 20 to 25 mm thick for both. The runway must be wide enough for the plane to lie on it fully on its side. Glue a batten under the base along the near edge so that it hooks over the front of the bench. That keeps the board from sliding about.
The runway is lower for a simple reason. The plane iron is narrower than the sole and doesn't reach right to the side. With the plane on its side, lower than the part, the iron covers the part's whole thickness.

Fix the stop with one screw first, as a pivot, and put a second screw through an oversized hole. Set it with a square and tighten it, then check again, because it can shift as you tighten. For a small correction, stick a strip of tape on the face of the stop at one end. The stop can stand a hair past the platform edge at first. The first few passes of the plane trim it flush and cut a small rebate in the platform edge, which the plane then runs against.
The flip test
A square held to one end shows only a large error. A test with two parts with straight, parallel edges is more reliable. Shoot one end of each. Lay both with an edge against a straight batten or rule, and push the shot ends together.

With both parts face up, the ends meet even if the stop is off, because they share the same error. Turn one part over. Now the errors add up, and the gap between the ends shows twice the error of one cut. Adjust the stop and repeat until the ends of the flipped parts close with no gap.
This test checks the stop, which sets the angle of the end to the part's edge. The angle of the end to the part's face depends on the plane, whose side must be square to its sole. Check that with a square held to the sole and the side. If the side is out, the end comes out bevelled across the part's thickness, even though it looks square from above.
Using it
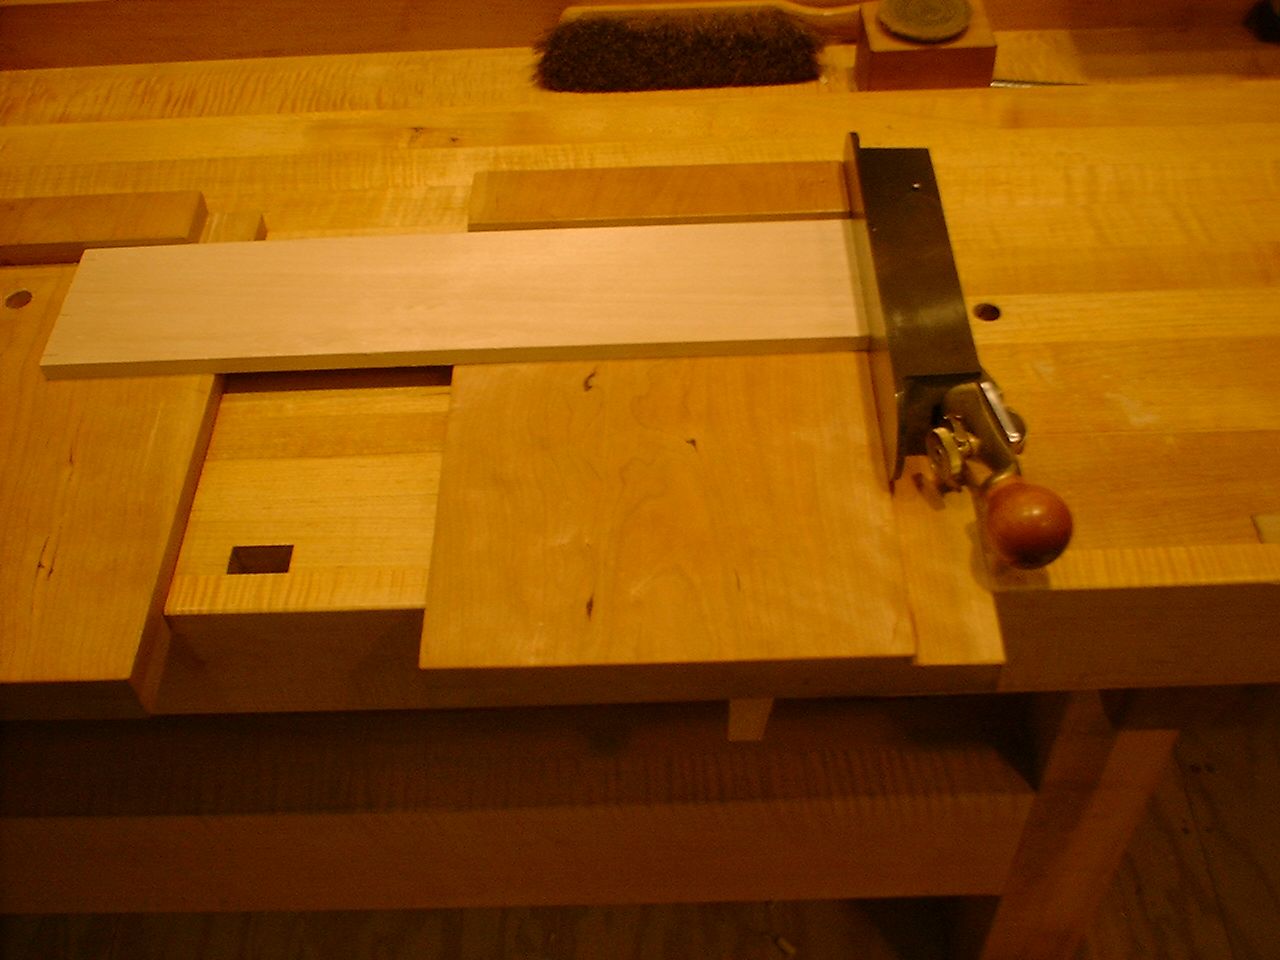
Lay the part on the platform with its edge against the stop and its end over the platform edge by the thickness of a shaving. Hold the part down and against the stop with one hand, and push the plane along the runway towards the stop with the other. The plane should be sharp and set for a fine shaving. Rub some wax on the runway and the plane will slide more easily.
The plane pushes the part against the stop, so the stop backs up the far corner of the end and the wood doesn't break out at the end of the stroke. Once the stop wears and no longer reaches the edge, put a scrap behind the part.
A longer board of the same kind trues the edges of thin boards before gluing them up. There's also a version with a double stop at 45° in the middle of the platform. It trues mitres that have already been sawn, from either side.

Sources
- D. Denning, The Art and Craft of Cabinet-making (opens in a new tab), 1891, pp. 110-113 and 137-138: construction and sizes, a stop at a right angle, a block underneath, a 45° stop
- M. Porcaro, R. Rousseau, "Shooting Board" (opens in a new tab), Fine Woodworking, 2009: a stop on oversized holes, the rebate cut in the platform by the first passes