
Jigs
A tick stick: copying a crooked alcove onto a board
A pointed stick and a scrap of board copy any awkward outline, like a crooked alcove, onto a new part, point by point.
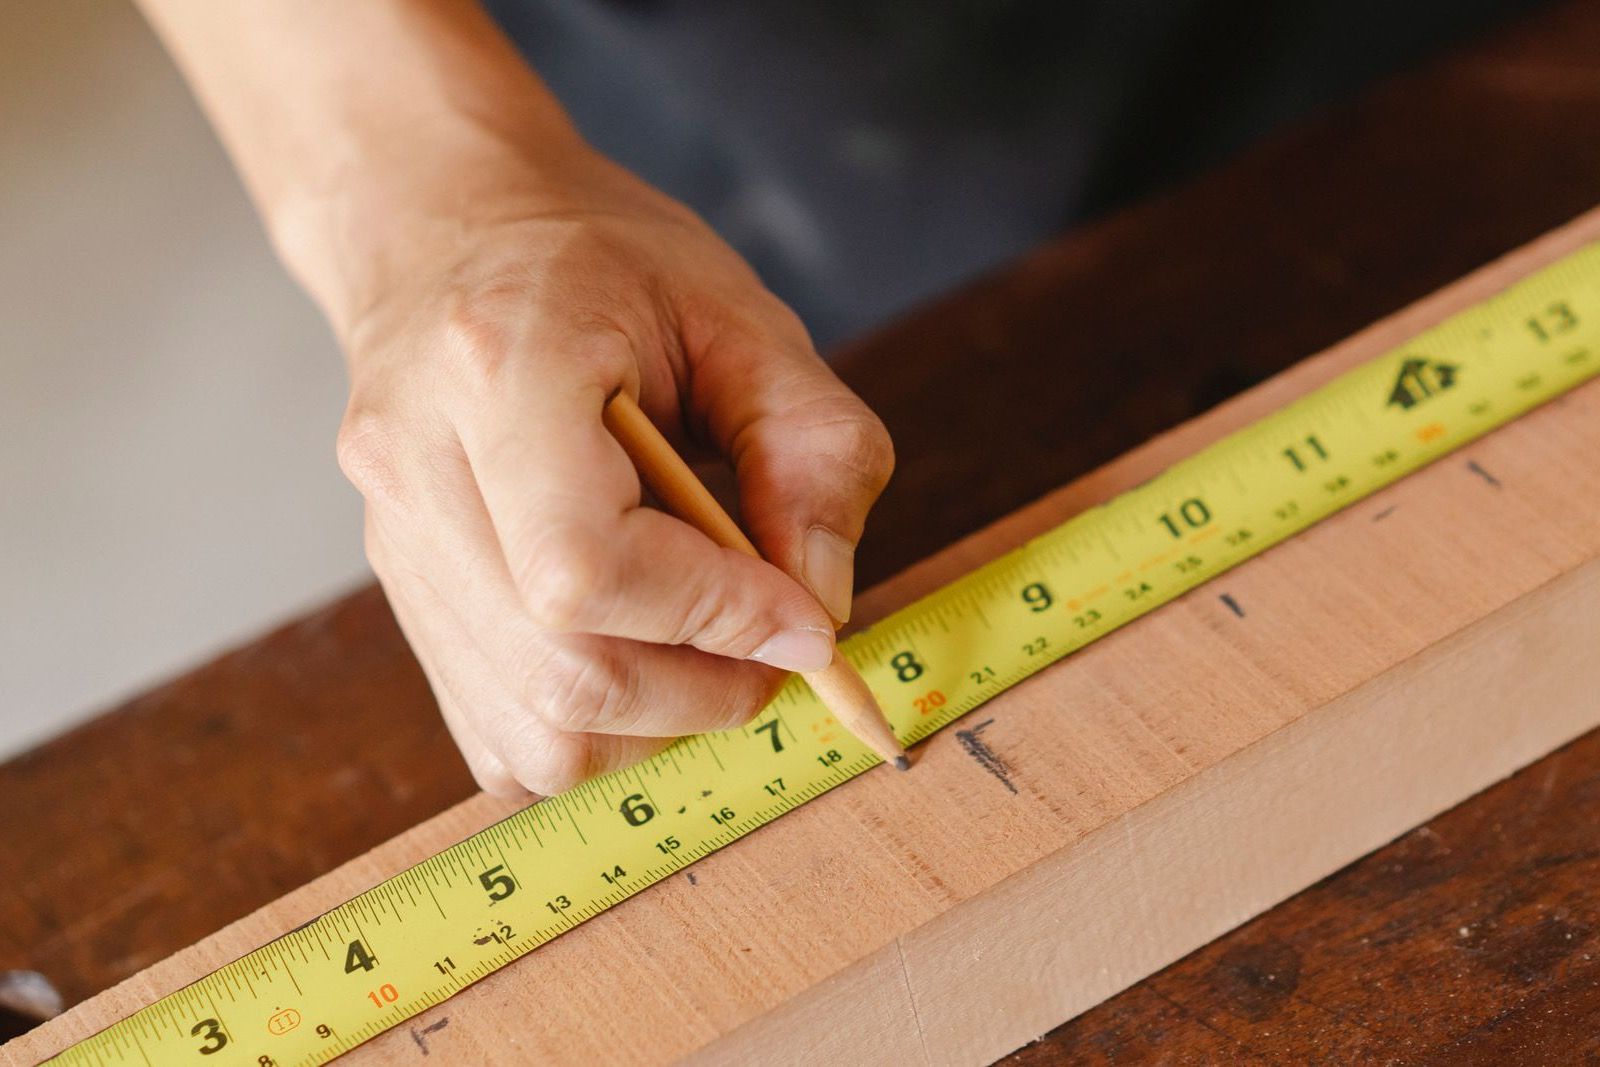
Fitting a shelf or a worktop into an alcove is rarely a matter of cutting a rectangle. Walls lean, corners aren't square, plaster bulges, and a tape only tells you the width at the two ends. Fitters copy the shape instead, with a tick stick: a straight stick with a point at one end, laid from a template to each point on the wall and recorded with a pencil mark. The template then goes onto the board, the stick goes back on each mark, and its point gives the outline. No numbers are involved at any stage, which is exactly why it works.
What you need
The template is a piece of thin, stiff board (3 mm hardboard is ideal). It has to be smaller than the alcove and stiff enough not to bend. The stick should be straight and flat, sharpened to a point at one end and cut square at the other. Make it long enough that, with the point on the furthest spot of the wall, the square end still lies on the template.
Lay the template on the floor of the alcove, or on the bearers the shelf will sit on, and tape it down so it can't move until you've finished. Keep it clear of every corner and every point you want to copy.
Recording the shape
Put the point of the stick on the first point, say the front corner by the left wall, with the stick flat and its square end on the template. Draw a pencil line along one edge of the stick and a second, short one along its square end, which gives you an L-shaped mark. Number it 1 and move on to the next point.

You'll want a point at every corner and wherever the wall changes direction, and more of them on a curve, because the points are all you keep of it. The stick can lie at any angle you like, as long as the whole mark fits on the template.
Both lines matter. The long one fixes which way the stick was lying and the short one how far along it was, so the stick can only go back in one place. With the long line alone you could slide the stick along it and the point would end up somewhere else. Pick one edge of the stick (the left, say) and use it every time.
Transferring to the board
Before you lift the template out, write "top" on it with an arrow pointing to the front of the alcove. Turned over, it would give you a mirror image and a shelf that won't go in. Tape it down on the board you'll cut the shelf from, same side up, and check the board is big enough for all the points to land on it.
Then put the stick back on mark 1, edge on the long line and square end on the short one, and make a dot on the board at its point. Work through the rest of the marks the same way.

Along the straight walls it's just a straightedge from dot to dot. For the curve, bend a thin, springy batten through the dots and draw along it. Cut a little on the waste side and plane or sand down to the line, offering the shelf up to the alcove as you go.
When only one edge is crooked
If only one edge is out, say a worktop against a wall, it's quicker to hold the part to the wall and mark the wall's shape straight onto it. The stick and template come into their own when the part can't be tried in place before it's cut: a shelf too big to go into the alcove, or a shape that's off on several sides at once.
Boatbuilders do much the same when planking a hull. They pick off a row of points with dividers onto a thin batten, carry them over to the new plank and join them up with a flexible batten.
Sources
- P. Carpendale, "Measuring Odd Shapes" (opens in a new tab), Fine Homebuilding no. 103, 1996: template, pointed stick, lines and numbers
- "Pattern Scribing and Tick Sticking" (opens in a new tab), Pro Remodeler, 2021: the L-shaped mark, a template clear of the corners, closer points on curves
- "Carvel Planking, Part 2: Spiling" (opens in a new tab), WoodenBoat: points recorded with dividers on a batten and transferred to a plank